Pfsense, windows and docker (wsl) on Oracle VirtualBox
Use case : Hosting a website in docker which is connected to a vmware running pfsense. The IP of pfsense will be used to serve the docker site.
Creating a launch file
-
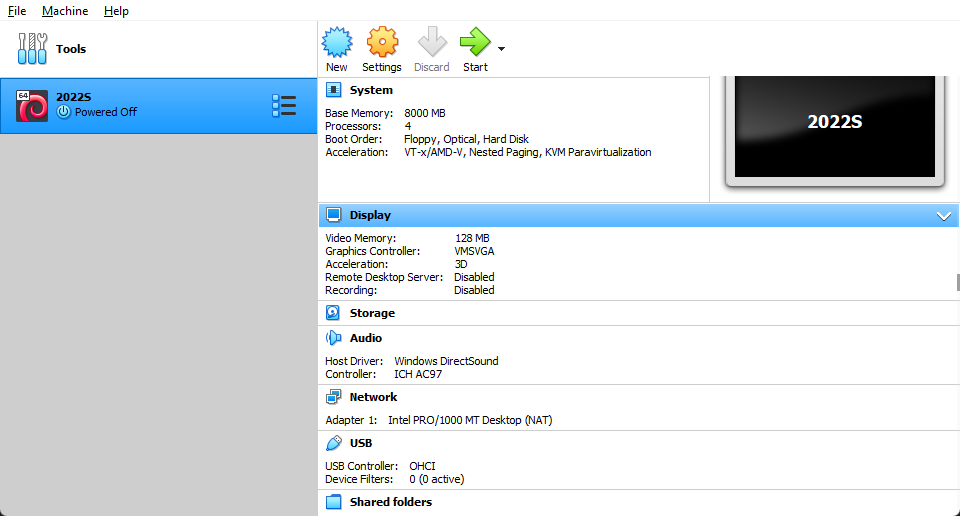
Click New
-
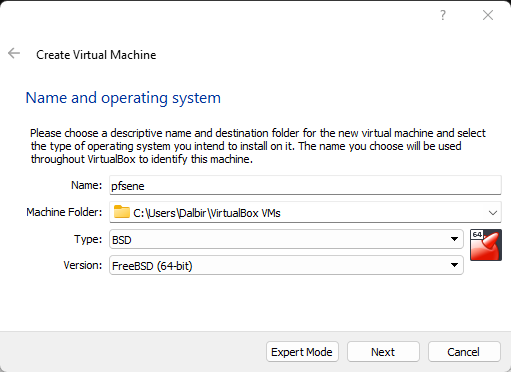
Choose a name, let folder be the default location, Type BSD and Version FreeBSD 64b
-
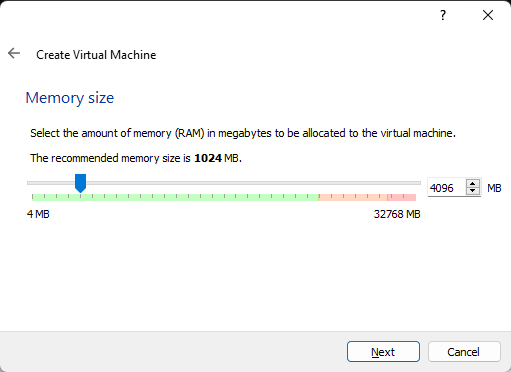
Memory Size can be anything above 1024mb
-
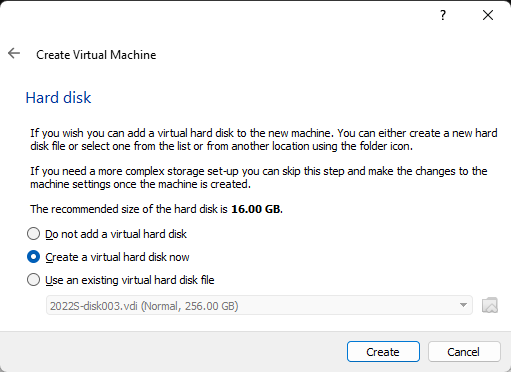
Default settings for all pop ups
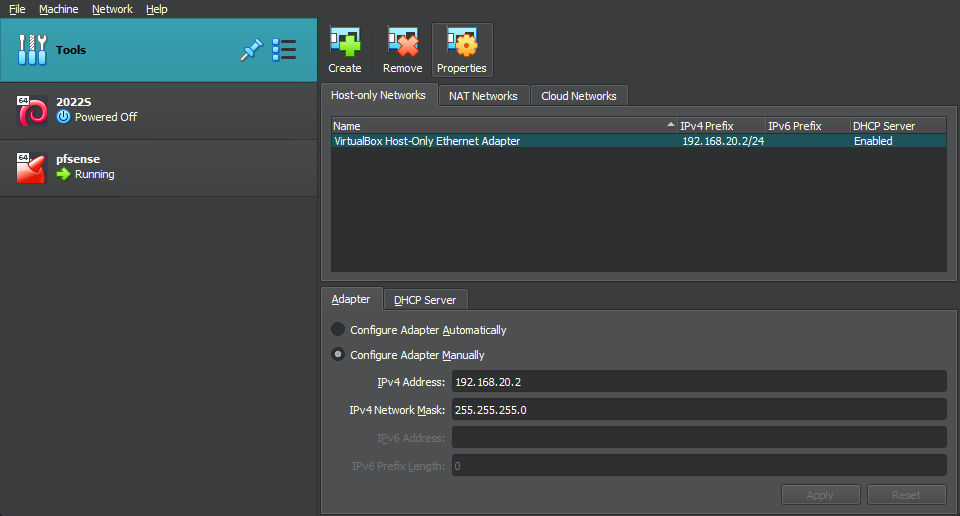
Configuring network
- Create a network if it doesnt exist and use the settings in the image and make sure to disable dhcp server.
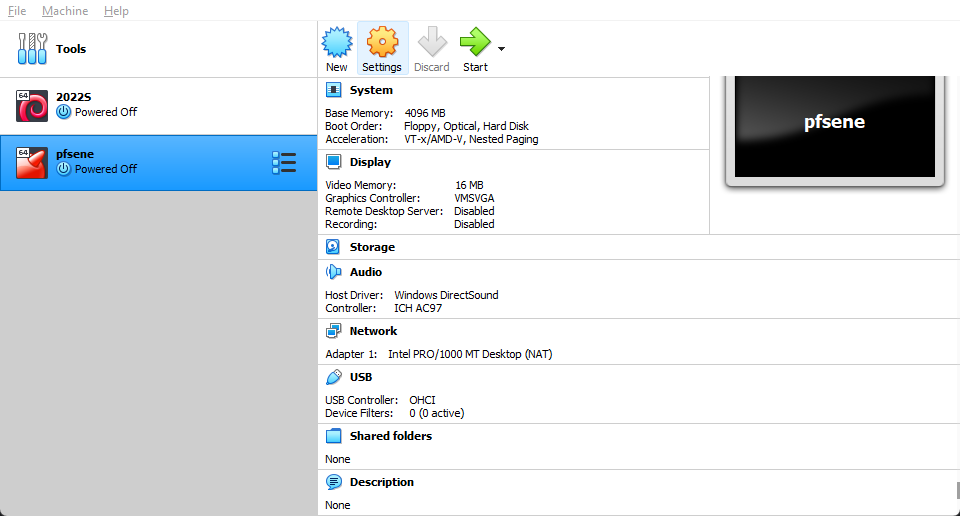
Configuring already created pfsense file
-
Click settings
-
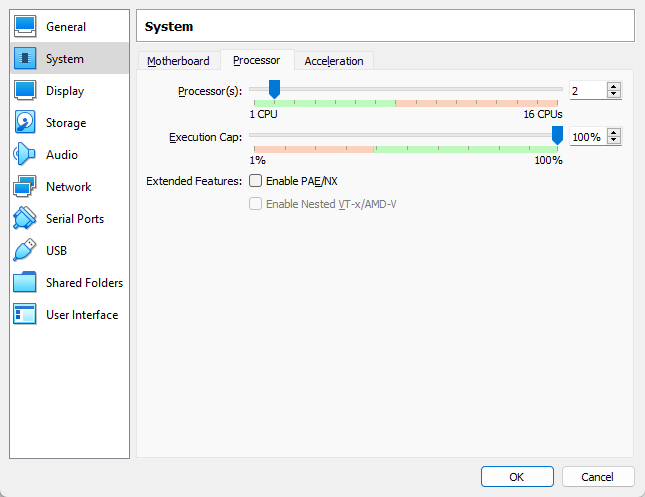
Go to System and set Processor to 2
-
Go to Storage and click on empty and choose your pfsense ISO file location
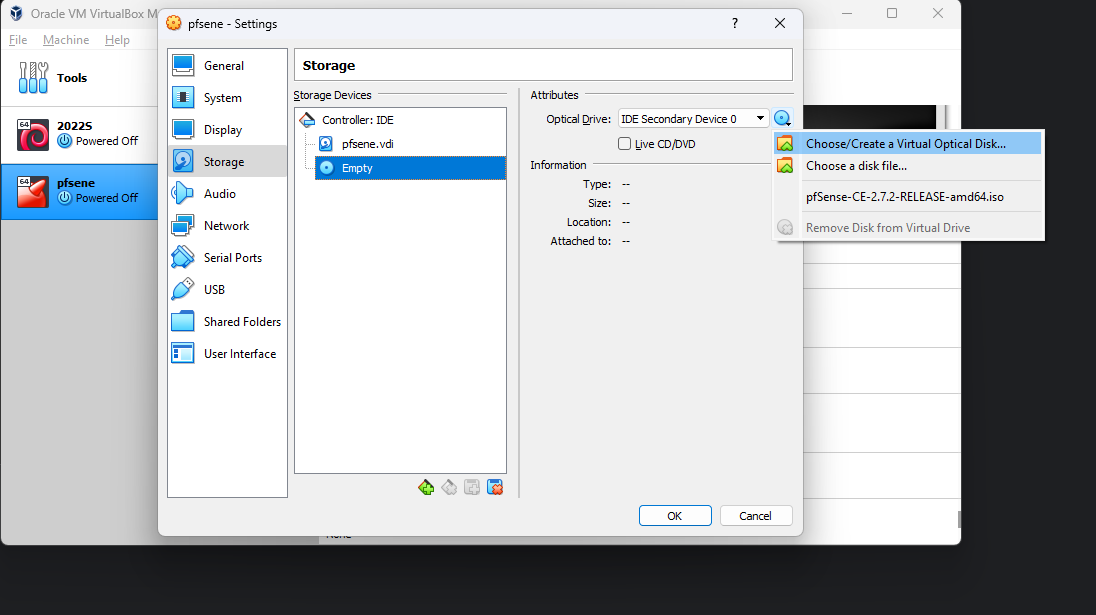
-
Go to Network
- Adapter 1 : Enabled
- mode bridged and choose your ethernet adapter or wifi according to your setup
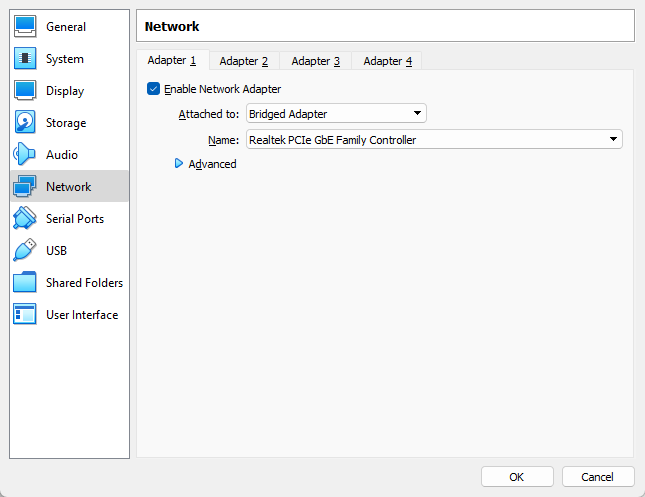
- mode bridged and choose your ethernet adapter or wifi according to your setup
- Adapter 2 : Enabled
- Host-Only Adapter ( this is the adapter we configured earlier in tools of Oracle virtualbox)
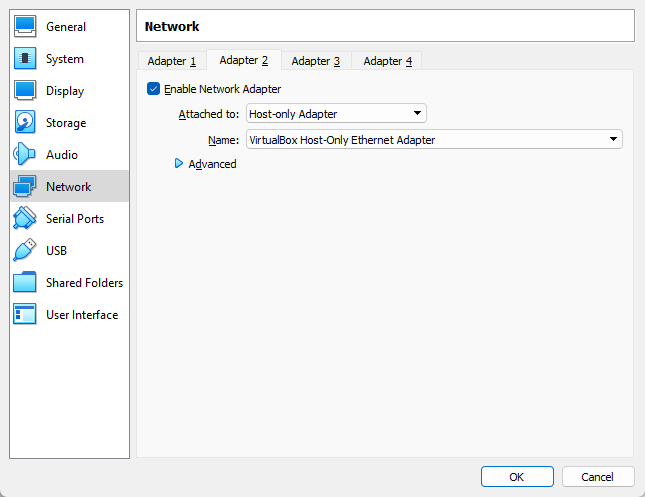
- Host-Only Adapter ( this is the adapter we configured earlier in tools of Oracle virtualbox)
Click Start to start the VM and wait till you are presented with the setup screen
Use the defaults so just keep clicking enter
When you get on this page don't forget to click spacebar first to use this disk and then click enter
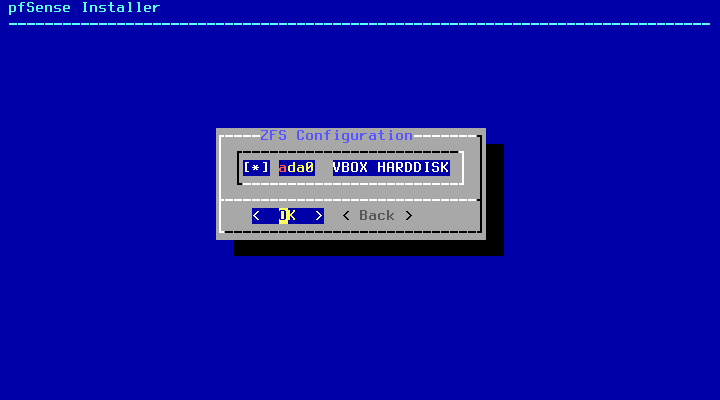
It will run a checksum and then it will extract the files. Just wait till it asks for a reboot and then click enter.
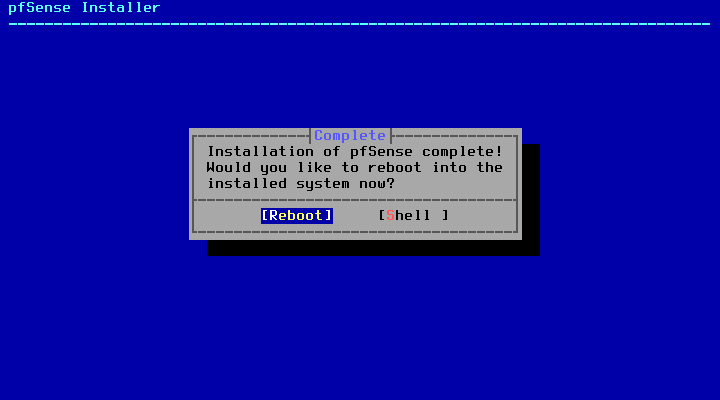
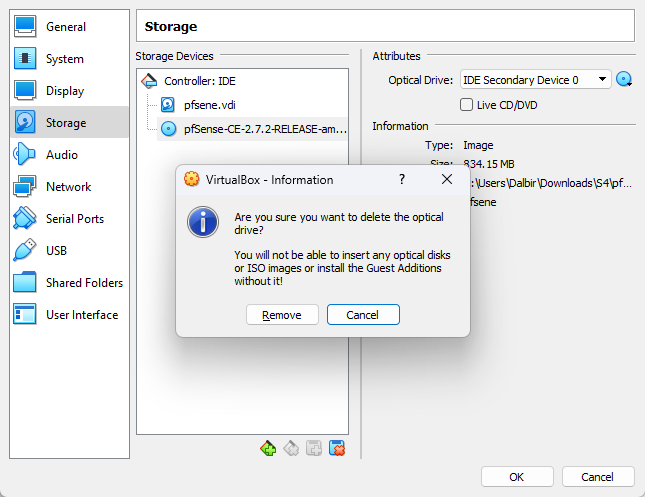
Just shutdown the vm by closing the shell and then go to settings of vm and storage. In storage remove the iso file by right clicking on it and then clicking remove
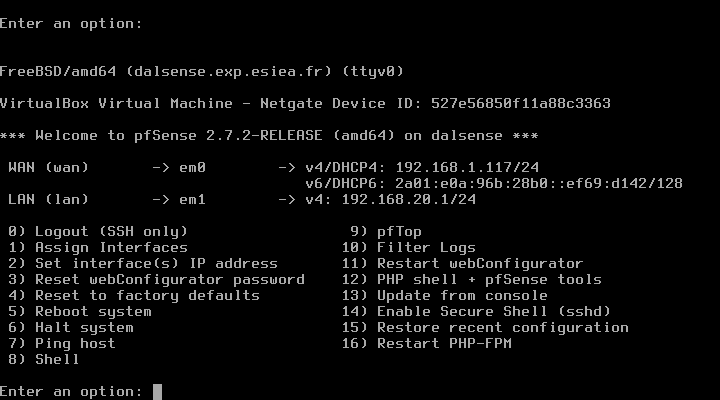
After that is done, just start the vm and wait for your pfsense to configure itself and then you will be provided with information of pfsense.
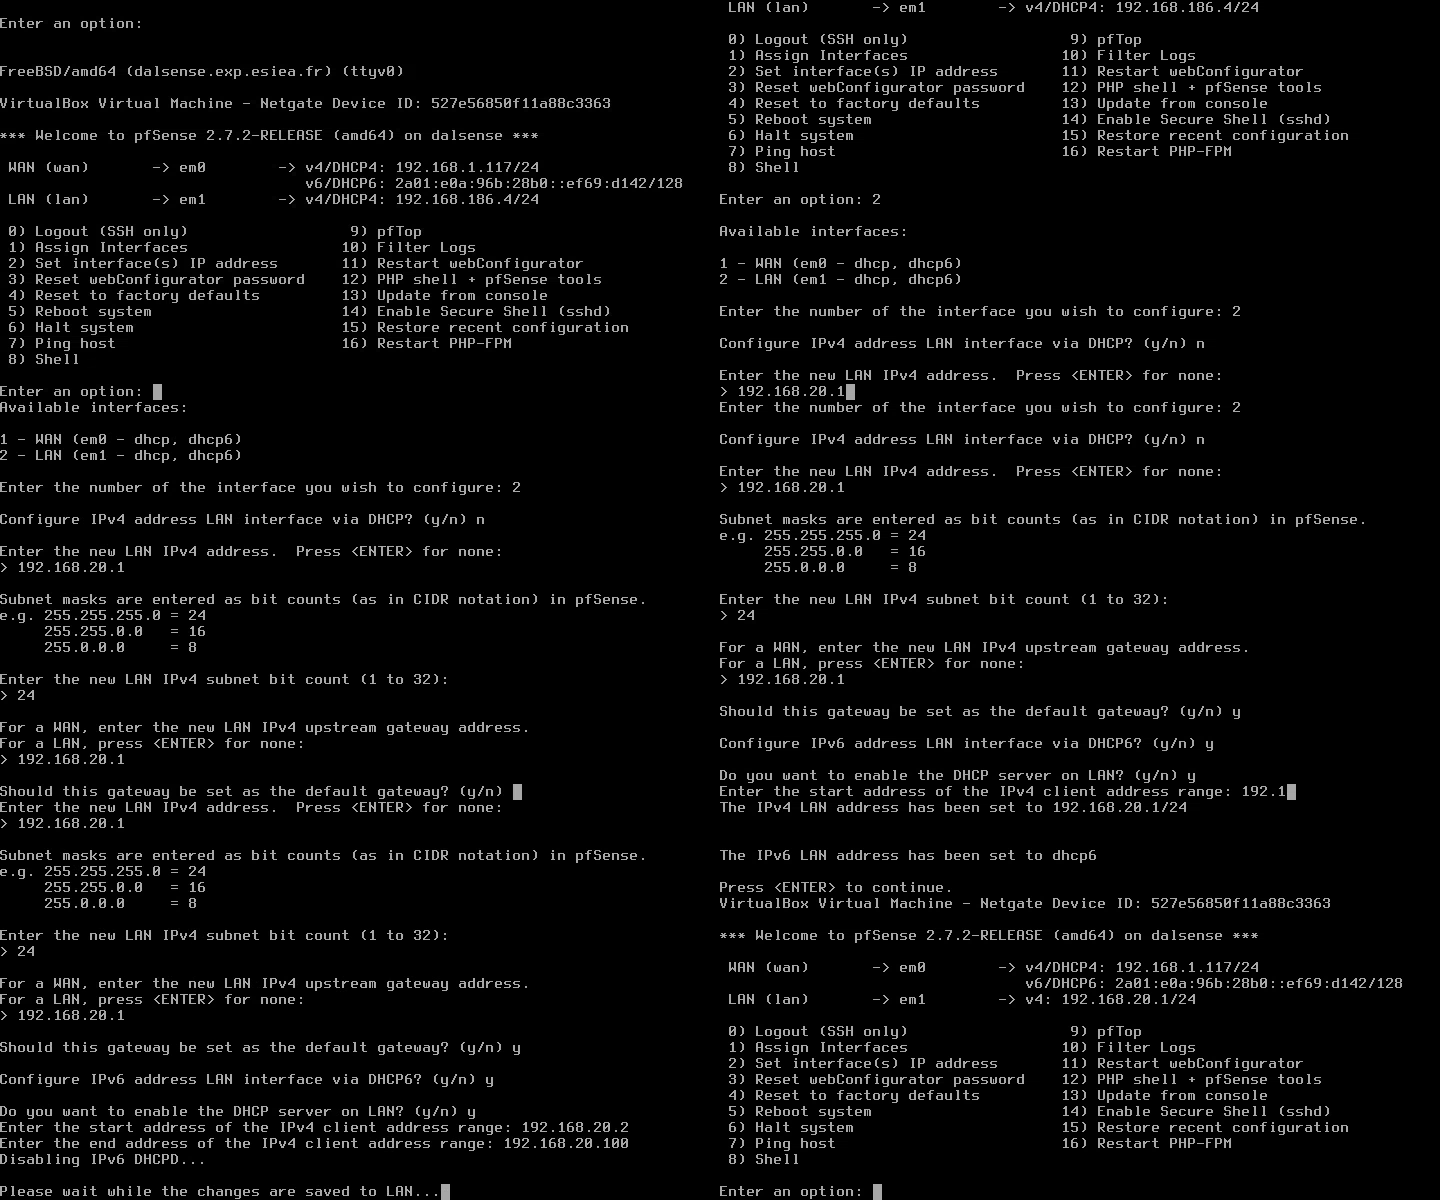
** If you are following my guide and somehow didn't get the ip in range 192.168.20.0/24, try to reobtain a new ip by running these commands : **
web setup
- You will be provided with two ips normally on your pfsense shell.
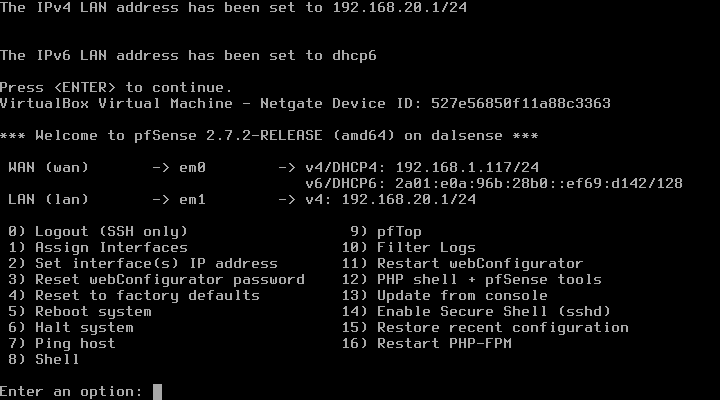
- Use the lan ip and put it in your web browser.
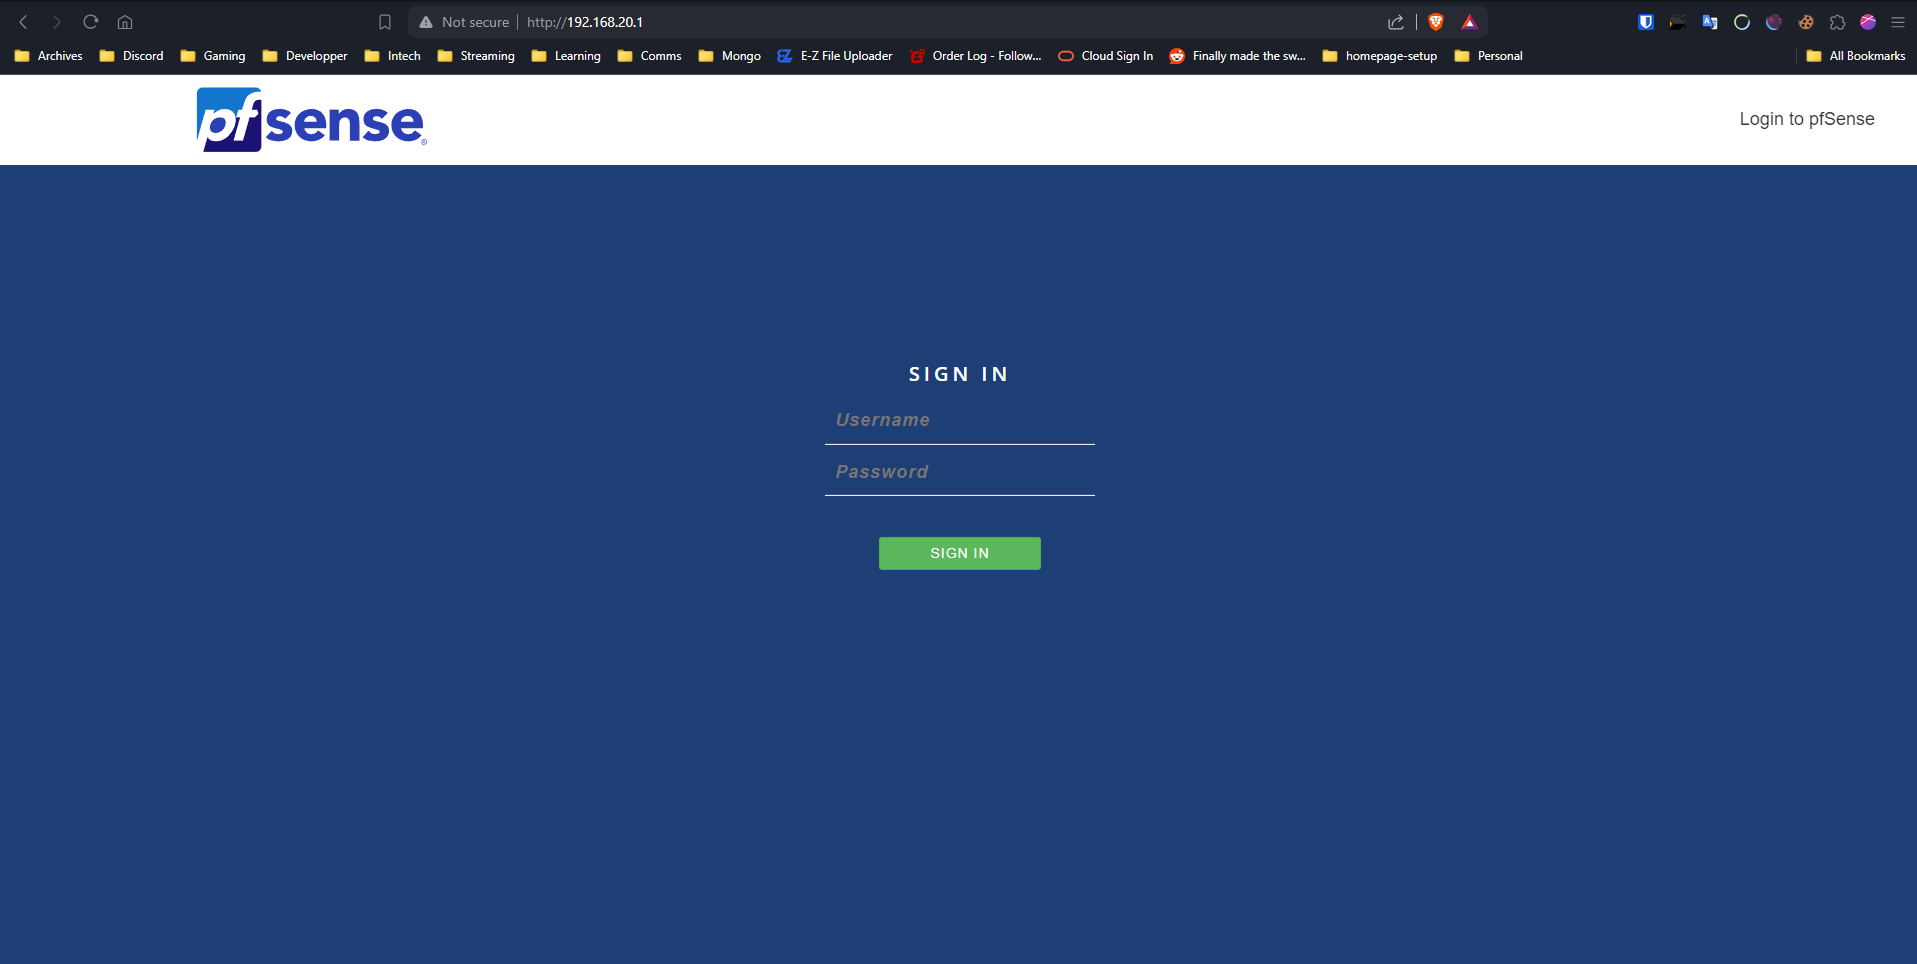
- User is admin and password is pfsense
- Run the web setup :
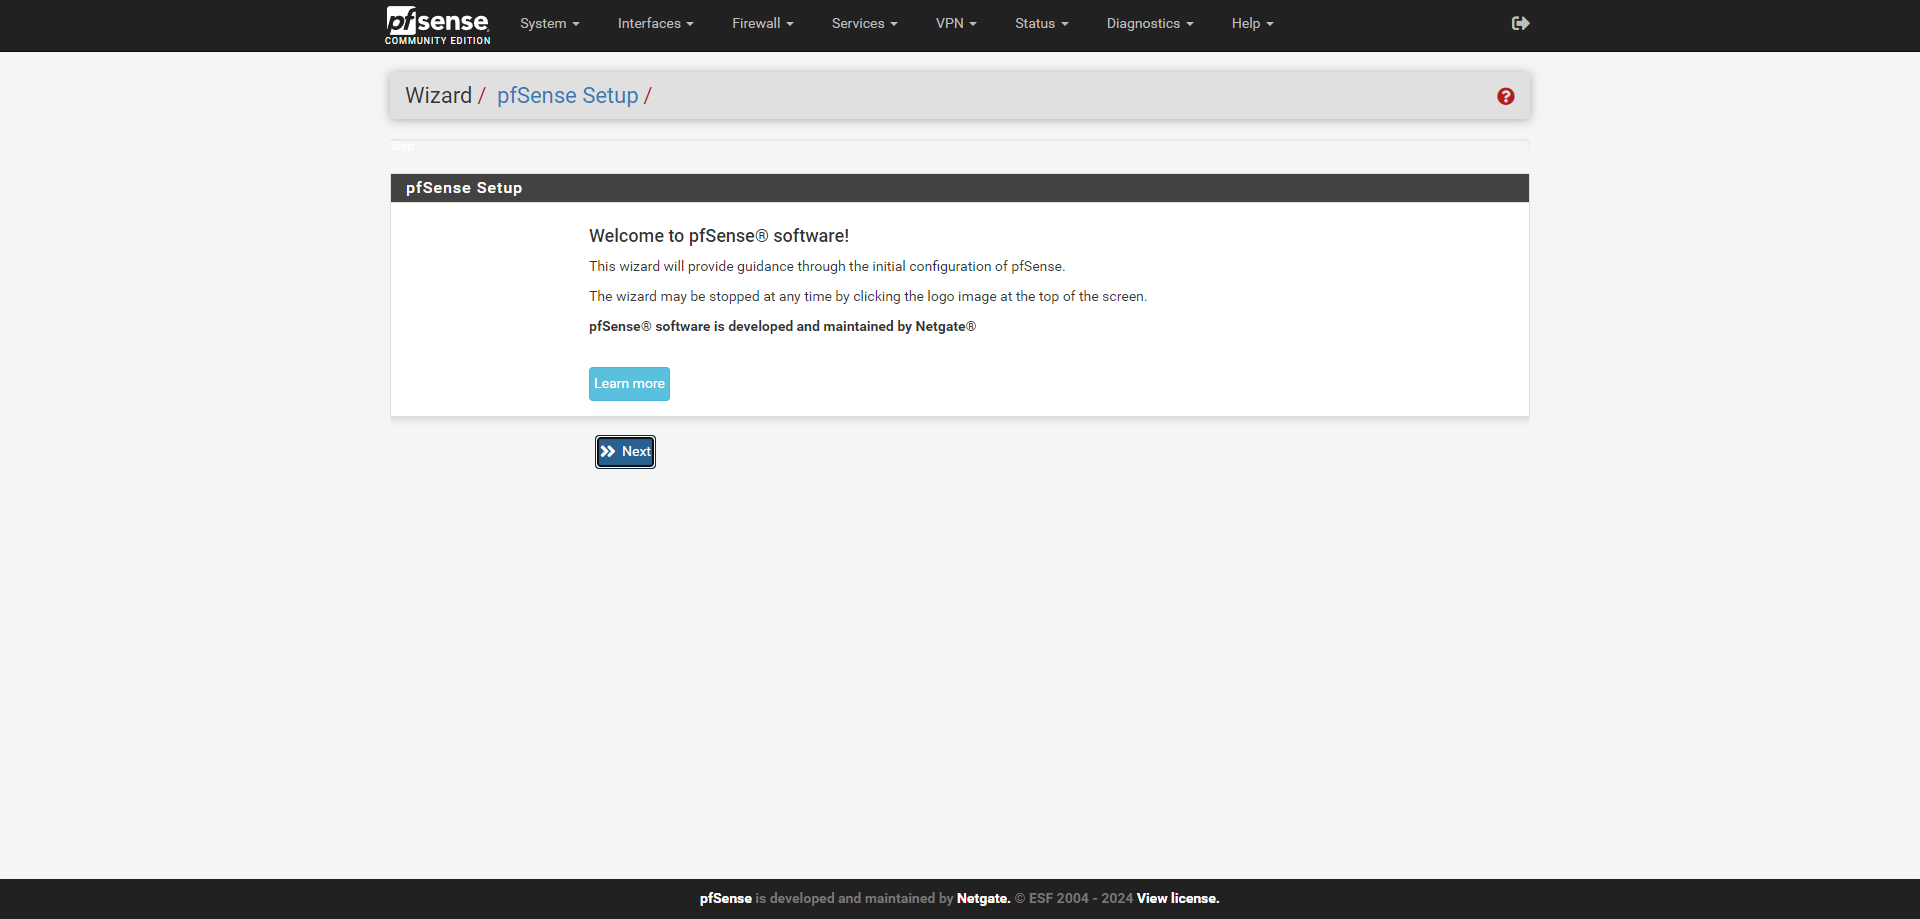
You can change the histname to your preference :
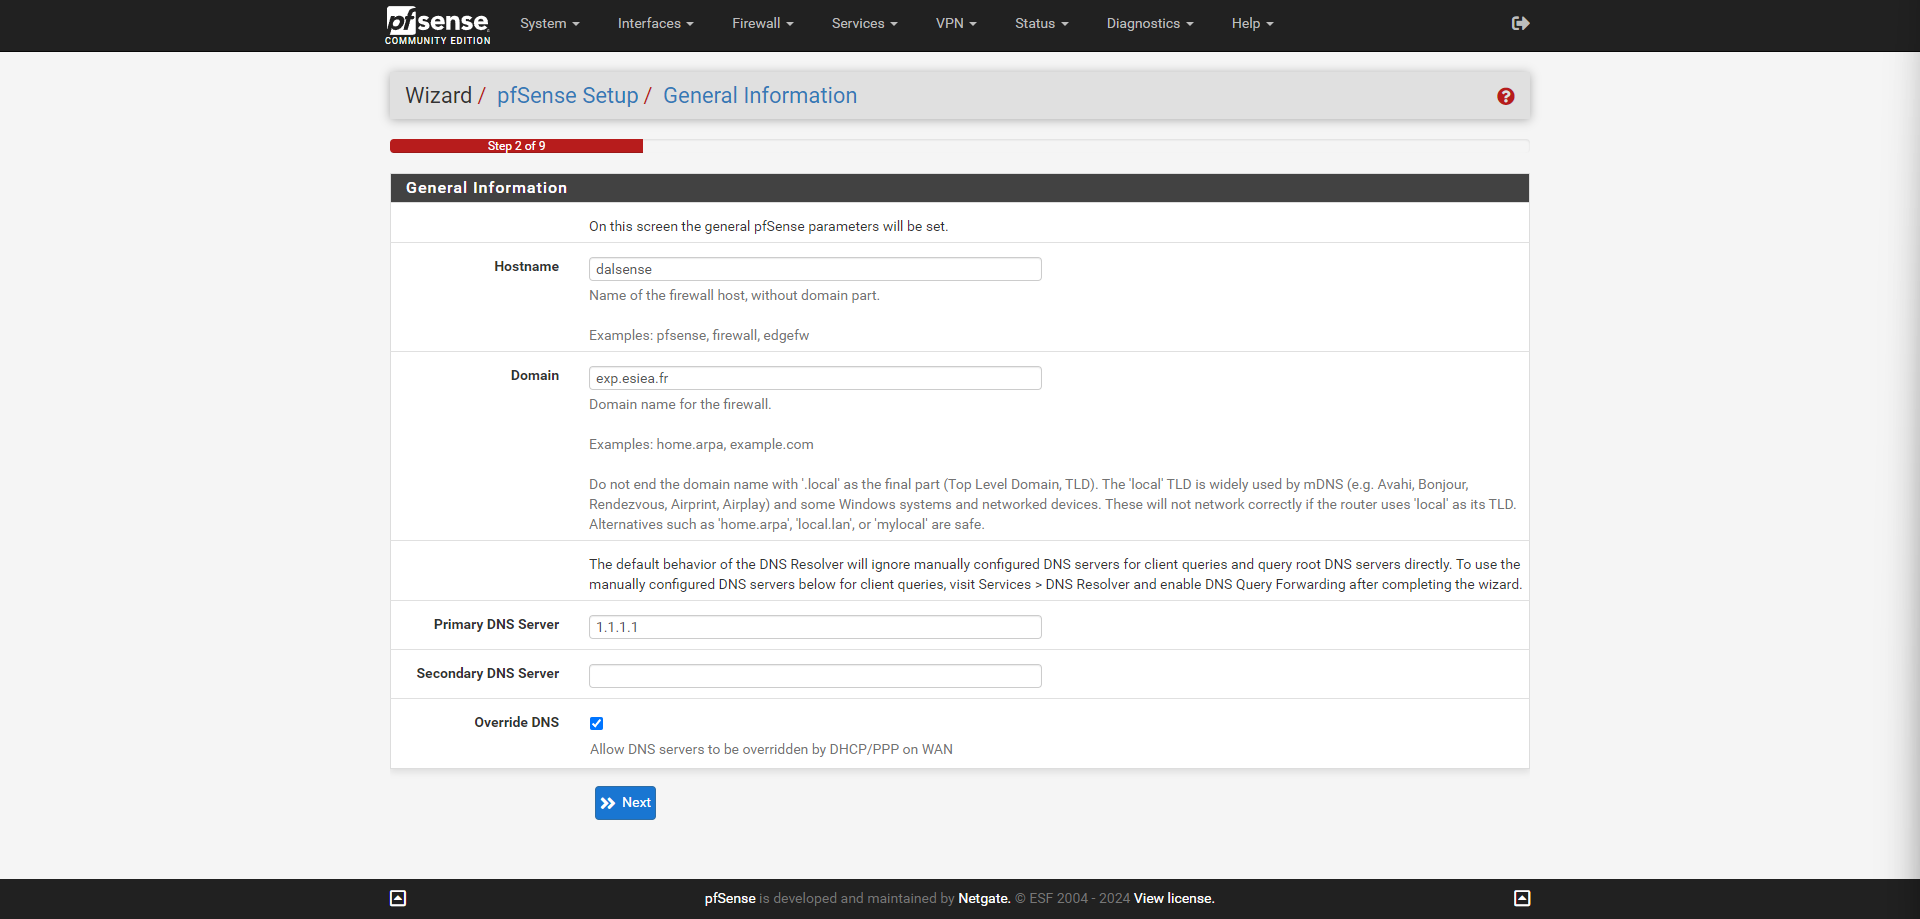
And next
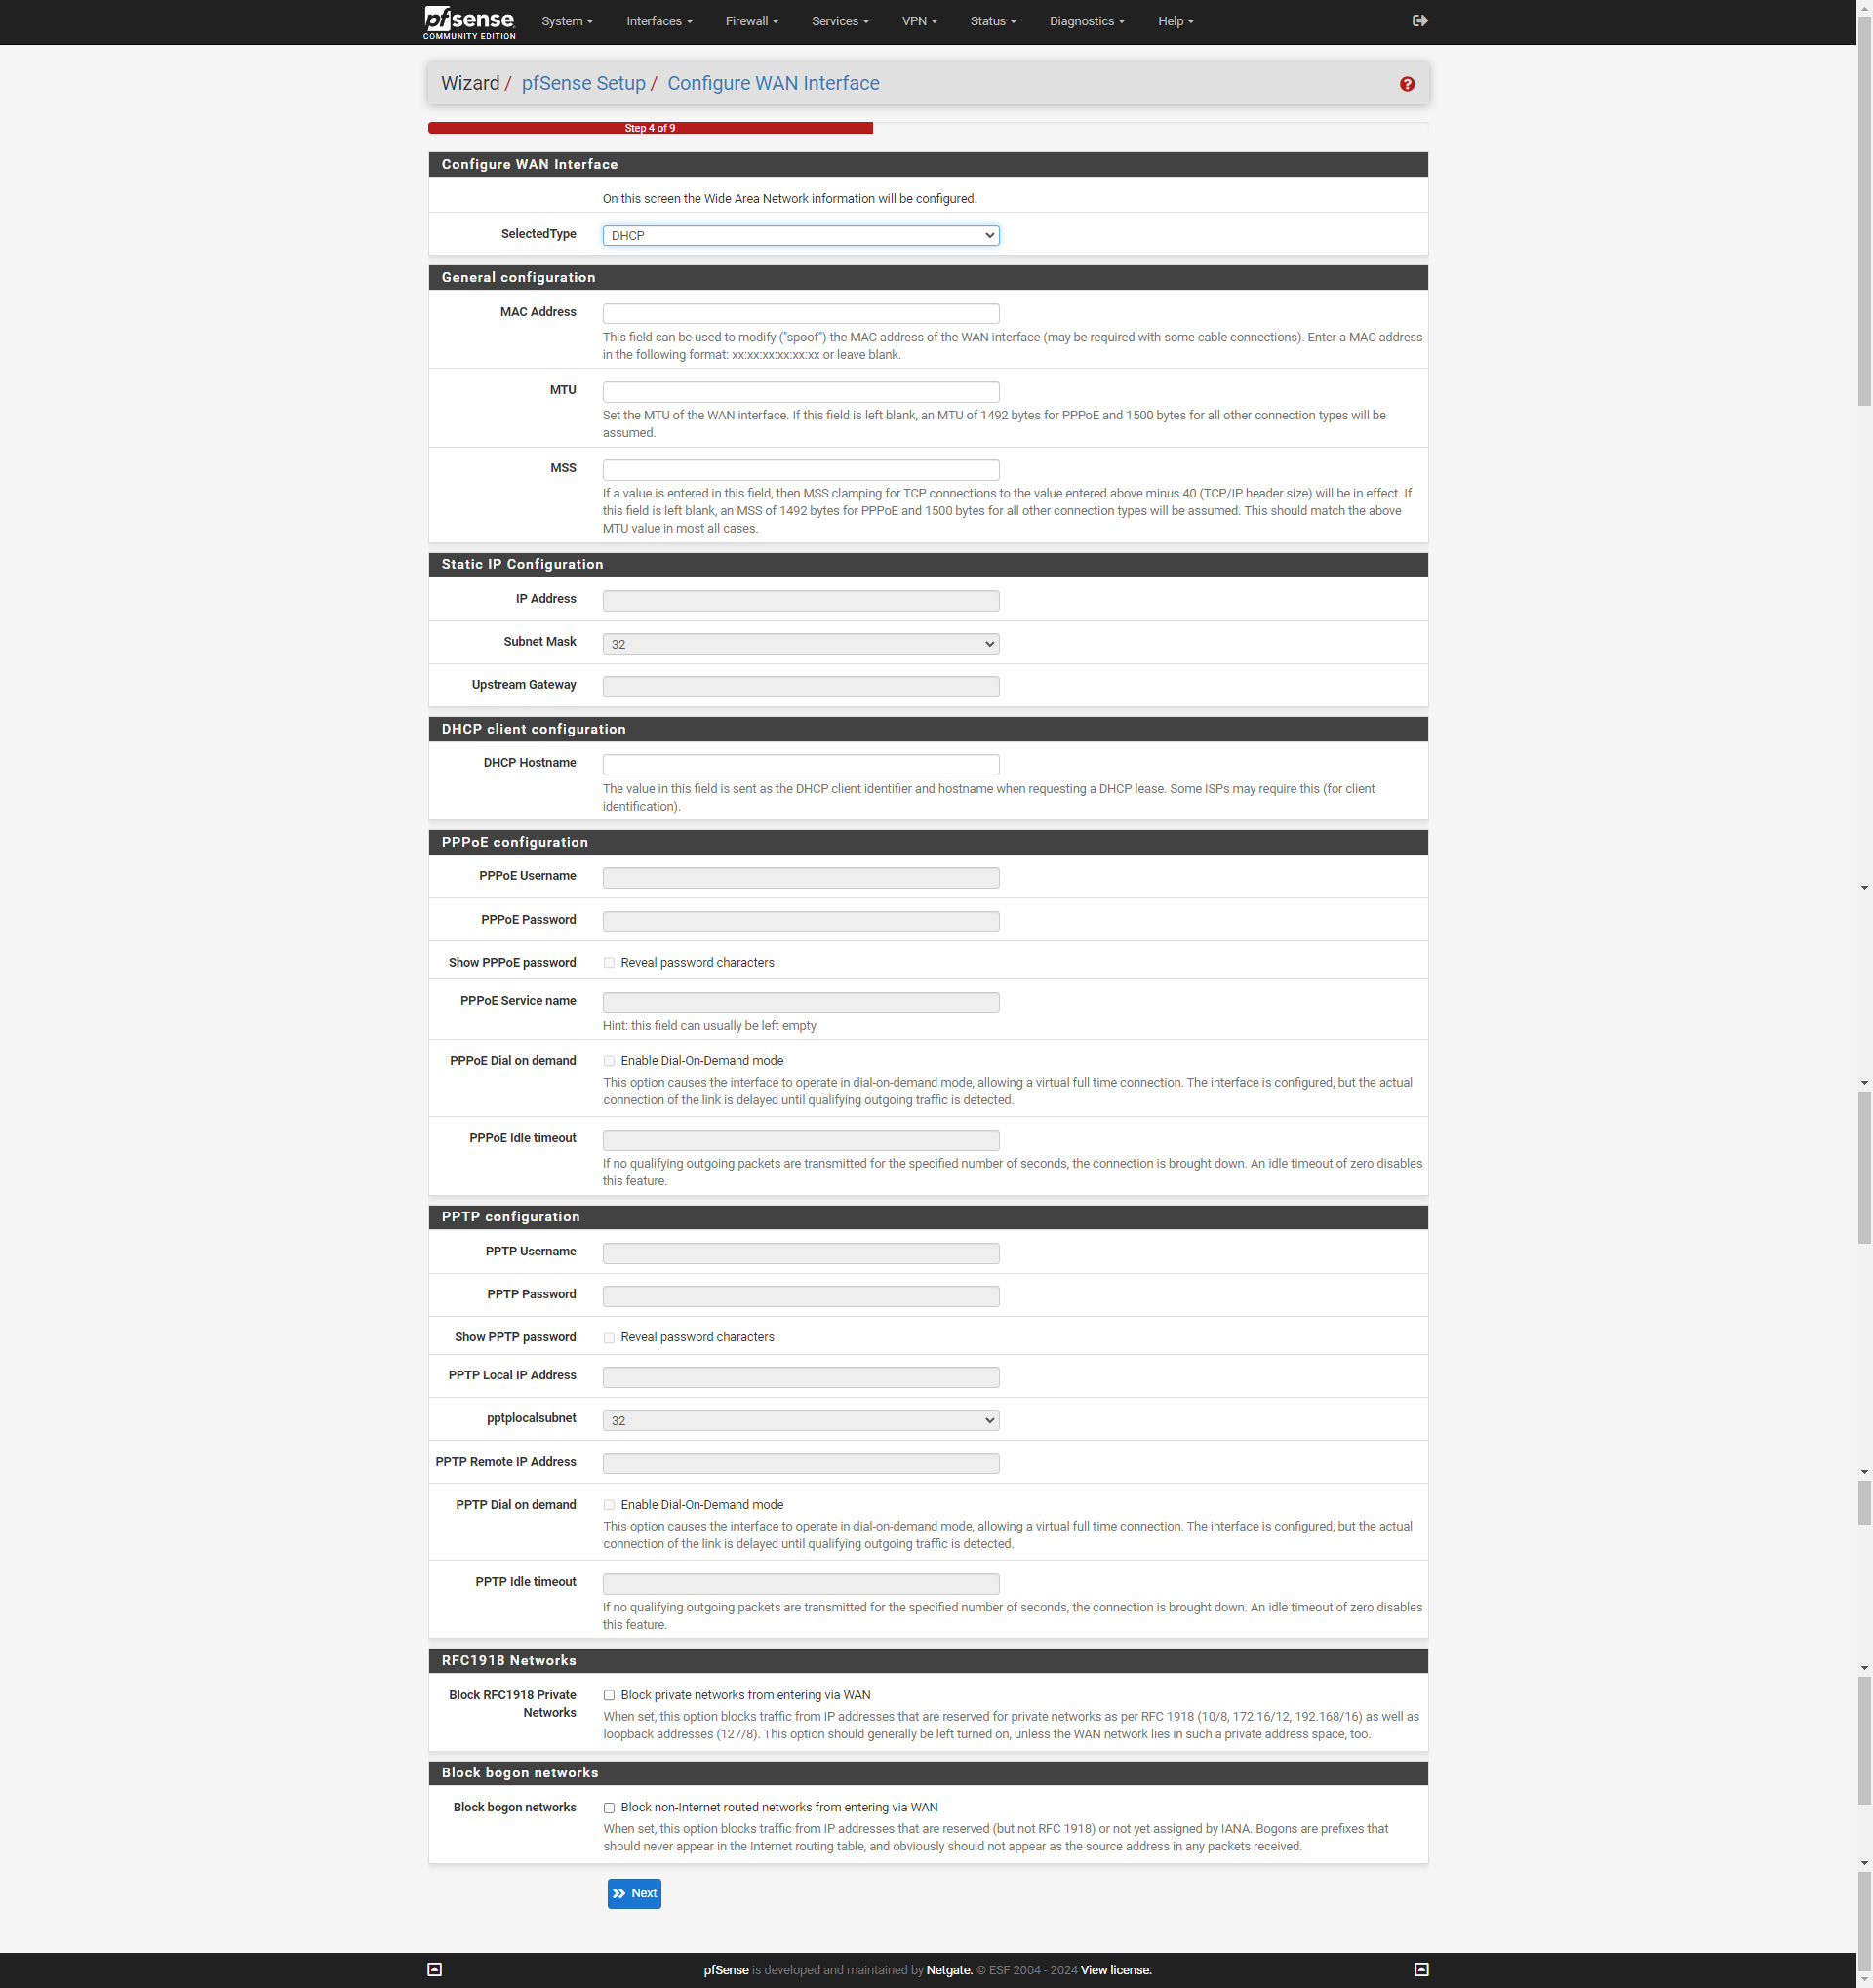
 Be sure to disable these two as they will block wan access otherwise which we need for our configuration to work properly.
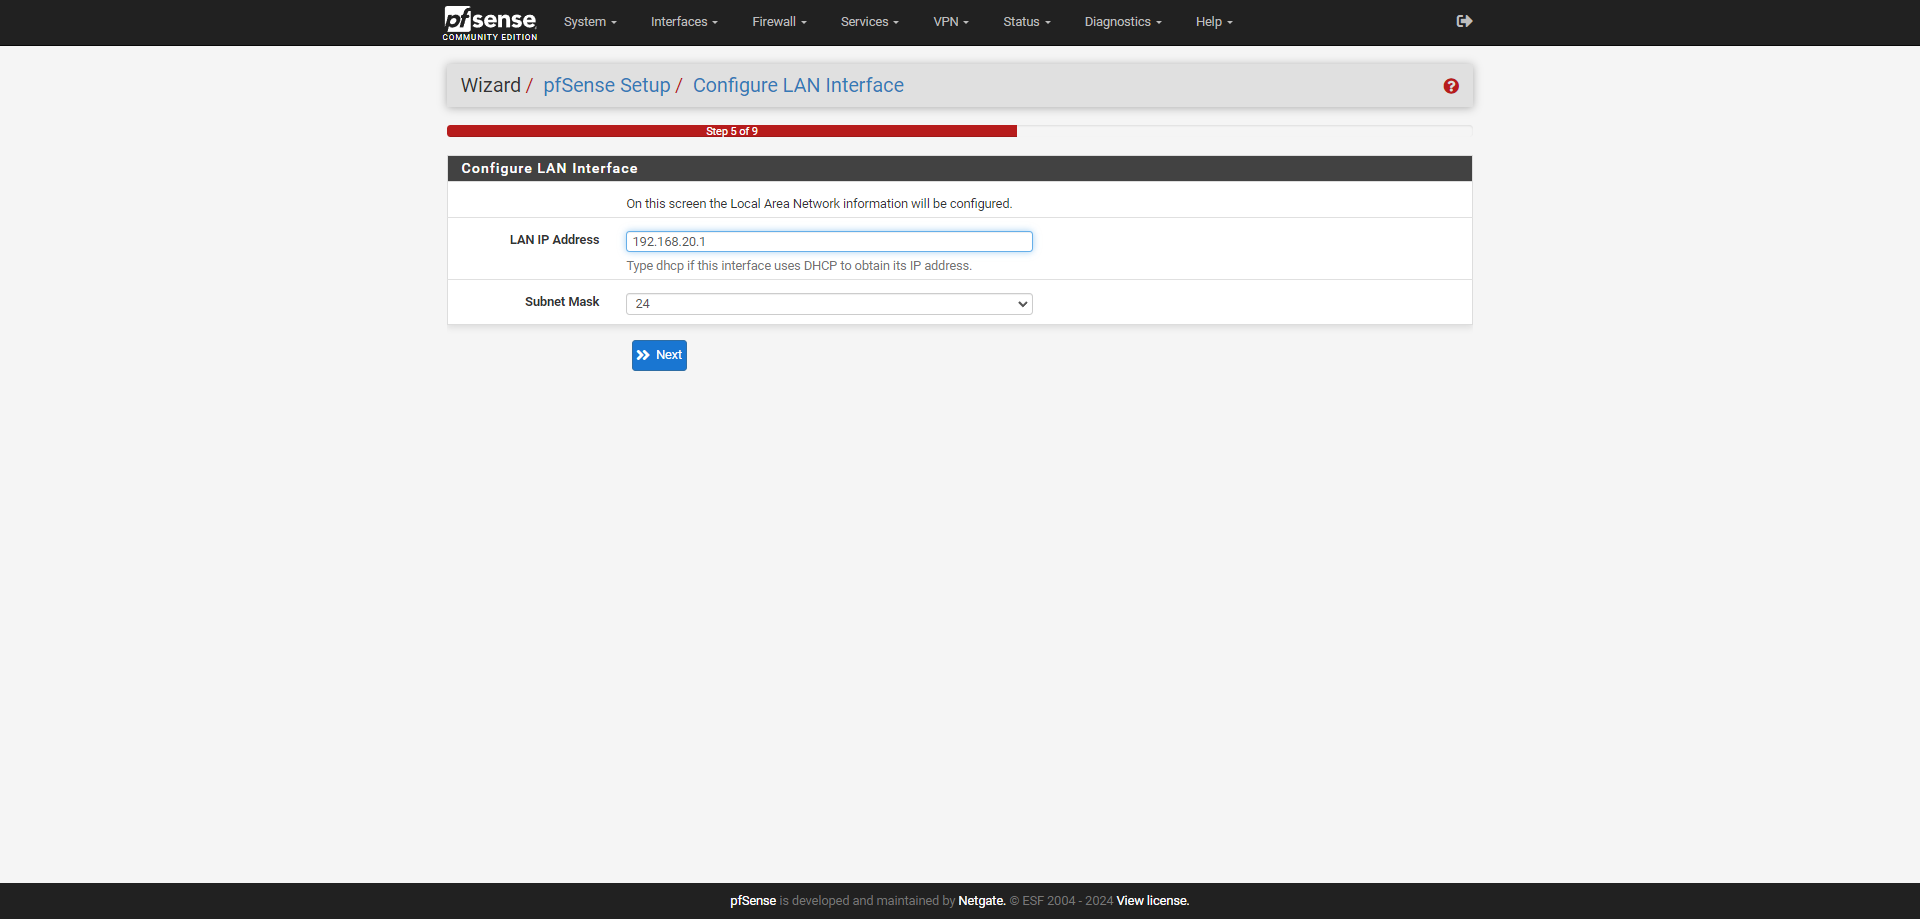 I am using 192.168.20.1 / 24 as i declared these values in my virtualbox network config. If you are following my guide keep it this way so you don't get any issues.
Choose a Password on next page and complete the setup.
Docker
- You will need to create a simple web app in docker where our site will be hosted.
- (or here is the code for docker-compose.yml)
version: '2'
services:
    app:
        image: strm/helloworld-http
        ports:
- "8000:80"- After creating the file, you will need to do
docker compose up( make sure your docker is running or you will get an error). - Once started you will get a message like this
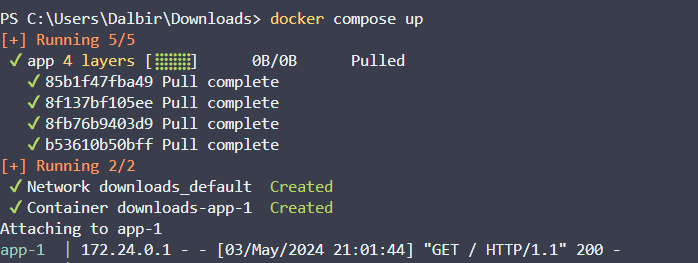 .
. - Now go to your web browser type localhost:8000 and you will see a hello from your container.
Docker config is done and all we need to do is make a NAT rule in our pfsense firewall for it to forward wan address to the website.
Back to pfsense web panel
- Click Firewall and then NAT
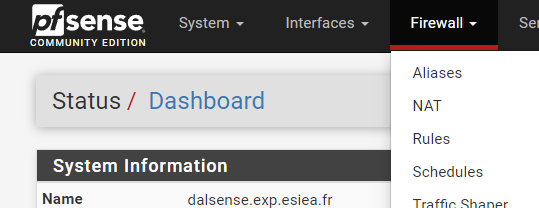
- Click on Add
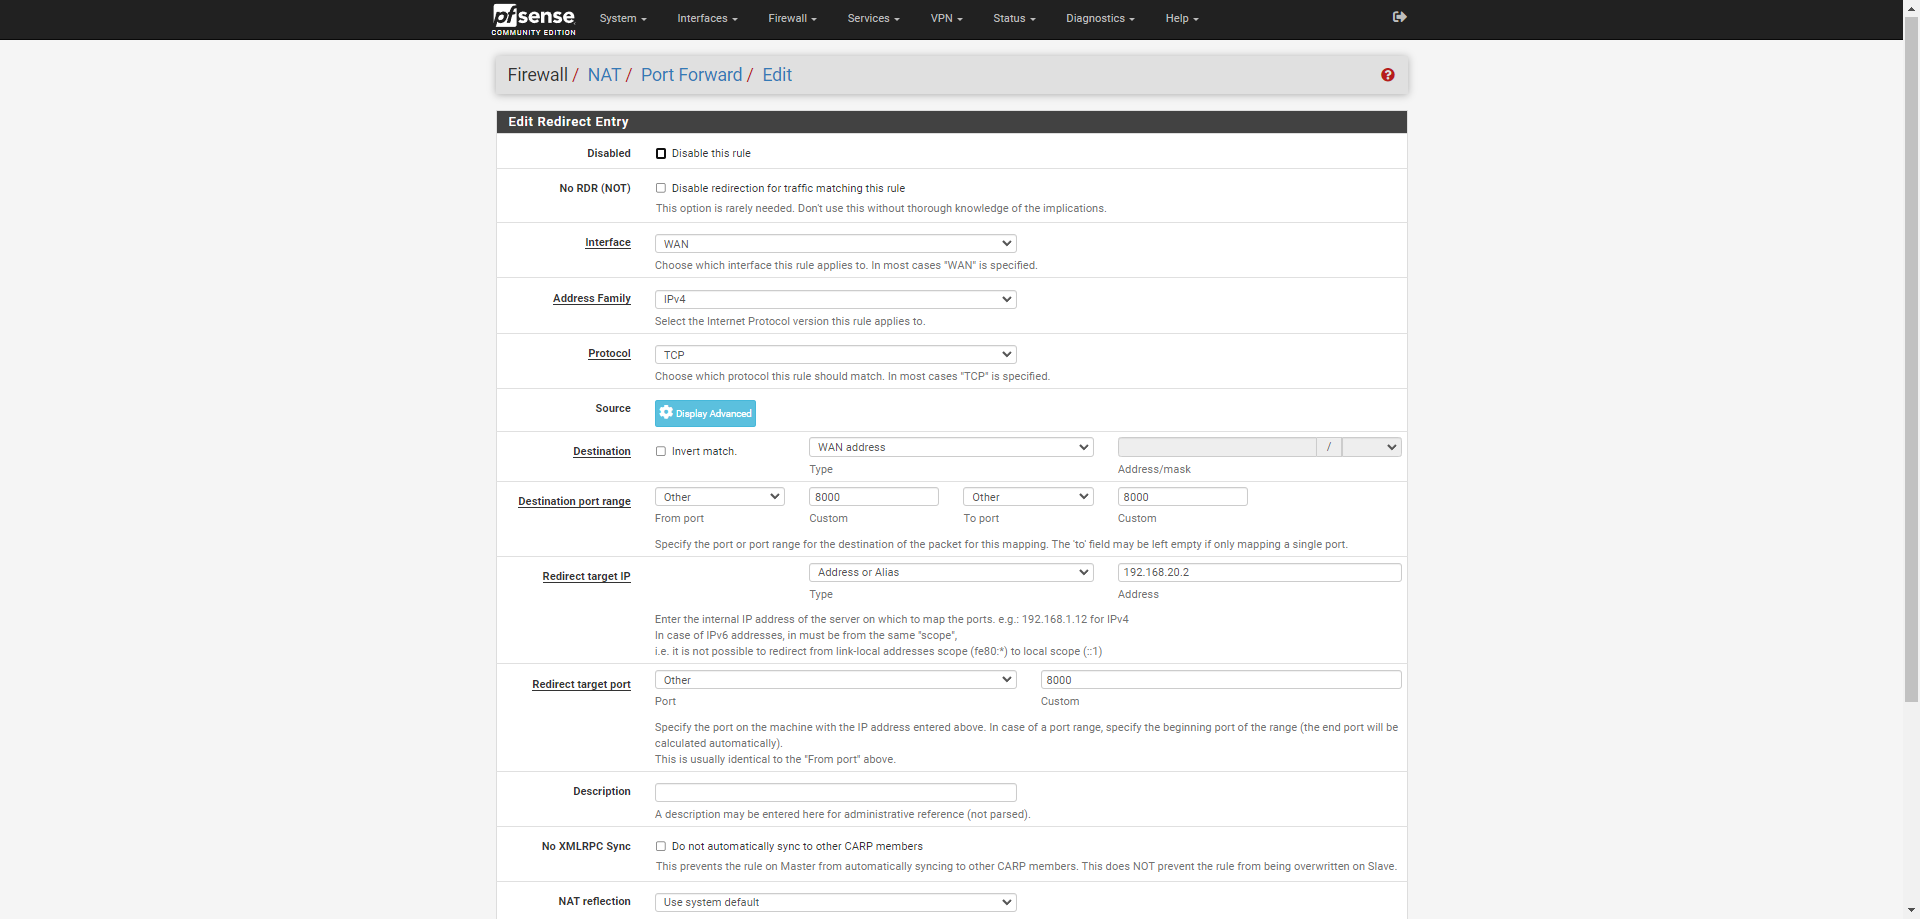
- Just change the following and make sure interface is WAN
- Protocol = TCP
- Destination = WAN address
- Destination port range = HTTP
- Redirect target IP = Address or Alias = IP of your Windows PC
( Duplicate the page to keep the entries, on the other page click Diagnostics and ARP table and find the LAN IP of your pc. In my case its 192.168.0.2. Copy the ip and go back to other page.)

- Redirect target port = 8000
AND click save.
Apply the changes and go to FIrewall -> Rules to see if the WAN rule is created successfully.

Results
If everything done as explained you will most likely be able to see the "Hello from d5dc5cdsvf4( random letters of your container)" on your WAN IP.
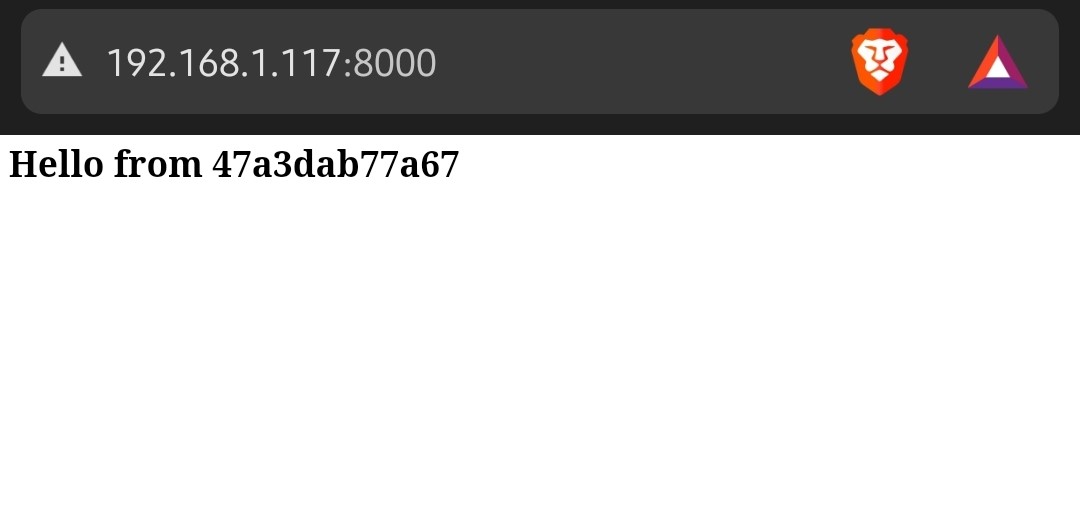
**In some cases, you might need to enable the port on your windows pc as windows usually block all incoming requests. **
netsh advfirewall firewall add rule name="Allow Port 8000 TCP" dir=in action=allow protocol=TCP localport=8000
Resolve domain name to IP address and show the website
Setting DNS forwarder
We need to enable DNS forwarder so requests to domains are passed through pfsense and not our router directly. In simple terms, when we declare a domain name in pfsense, we need to use pfsense as forwarder so it can receive the requests and respond to queries first.
- Disable DNS Resolver Services -> DNS Resolver and untick it and save the settings,
- Enable DNS Forwarder Services -> DNS Forwarder and enable it.
- In DNS Forwarder, go to the bottom and click Add below Host Overrides
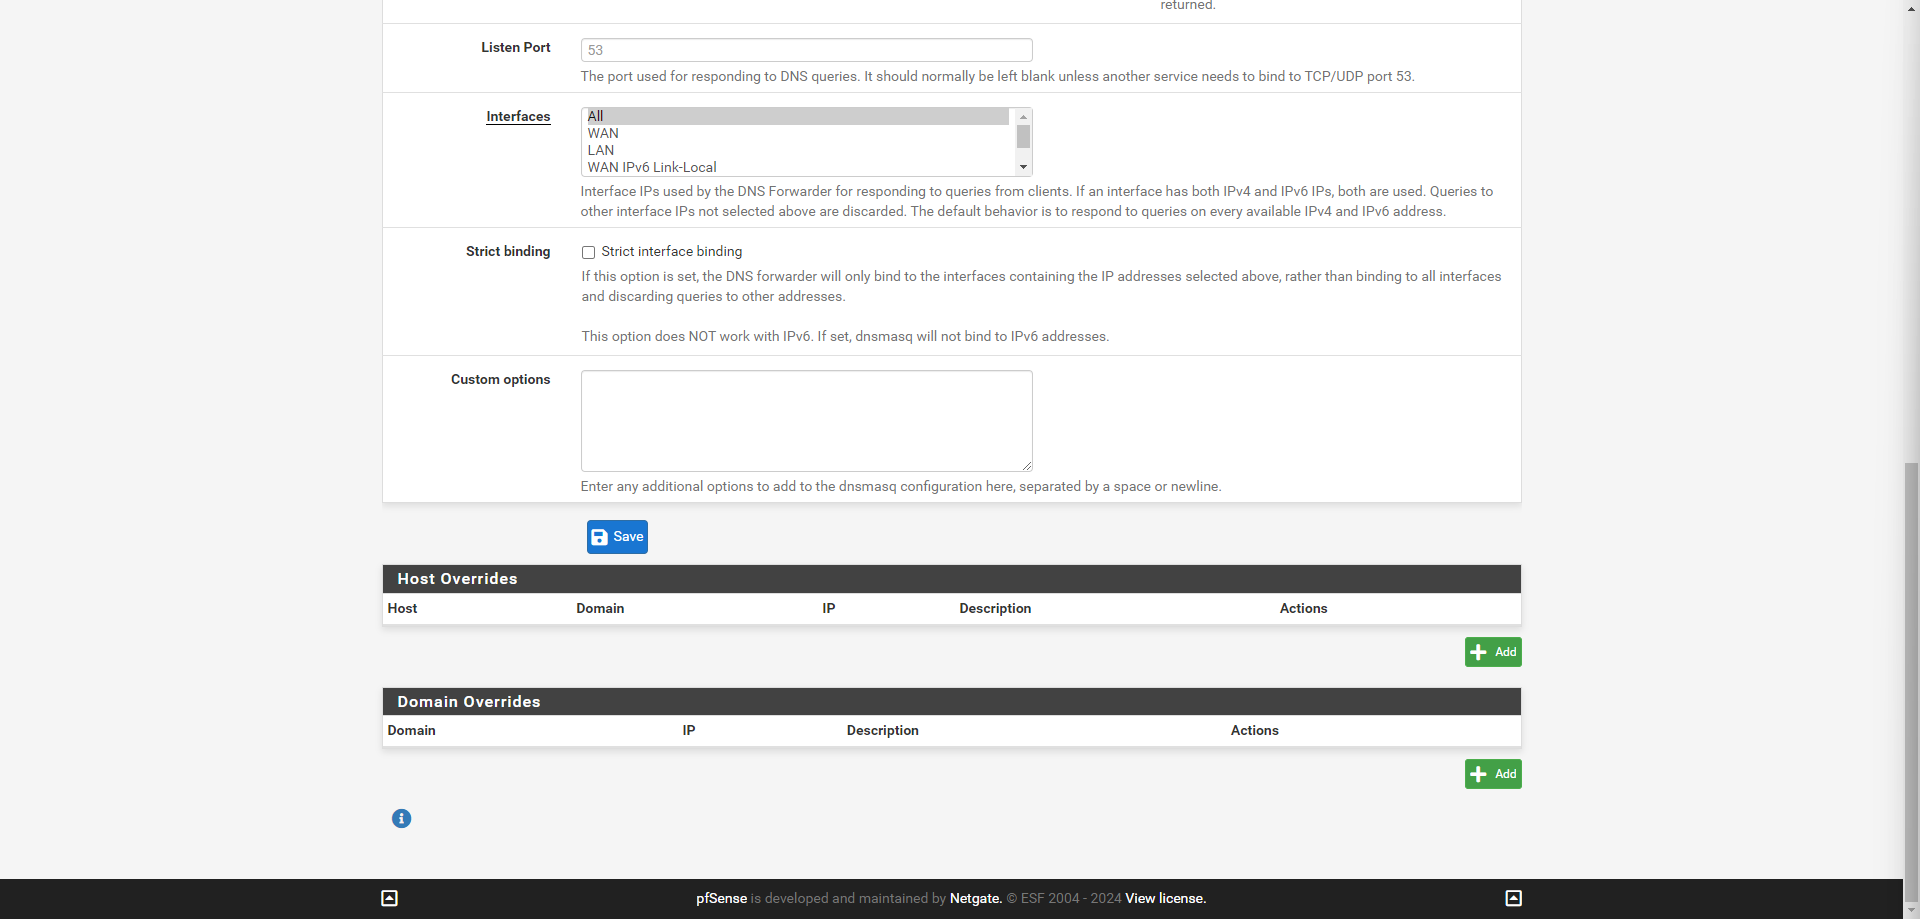
- Add the following entries ( choose any domain name you want but make sure the IP is the lan IP of windows pc ), and save.
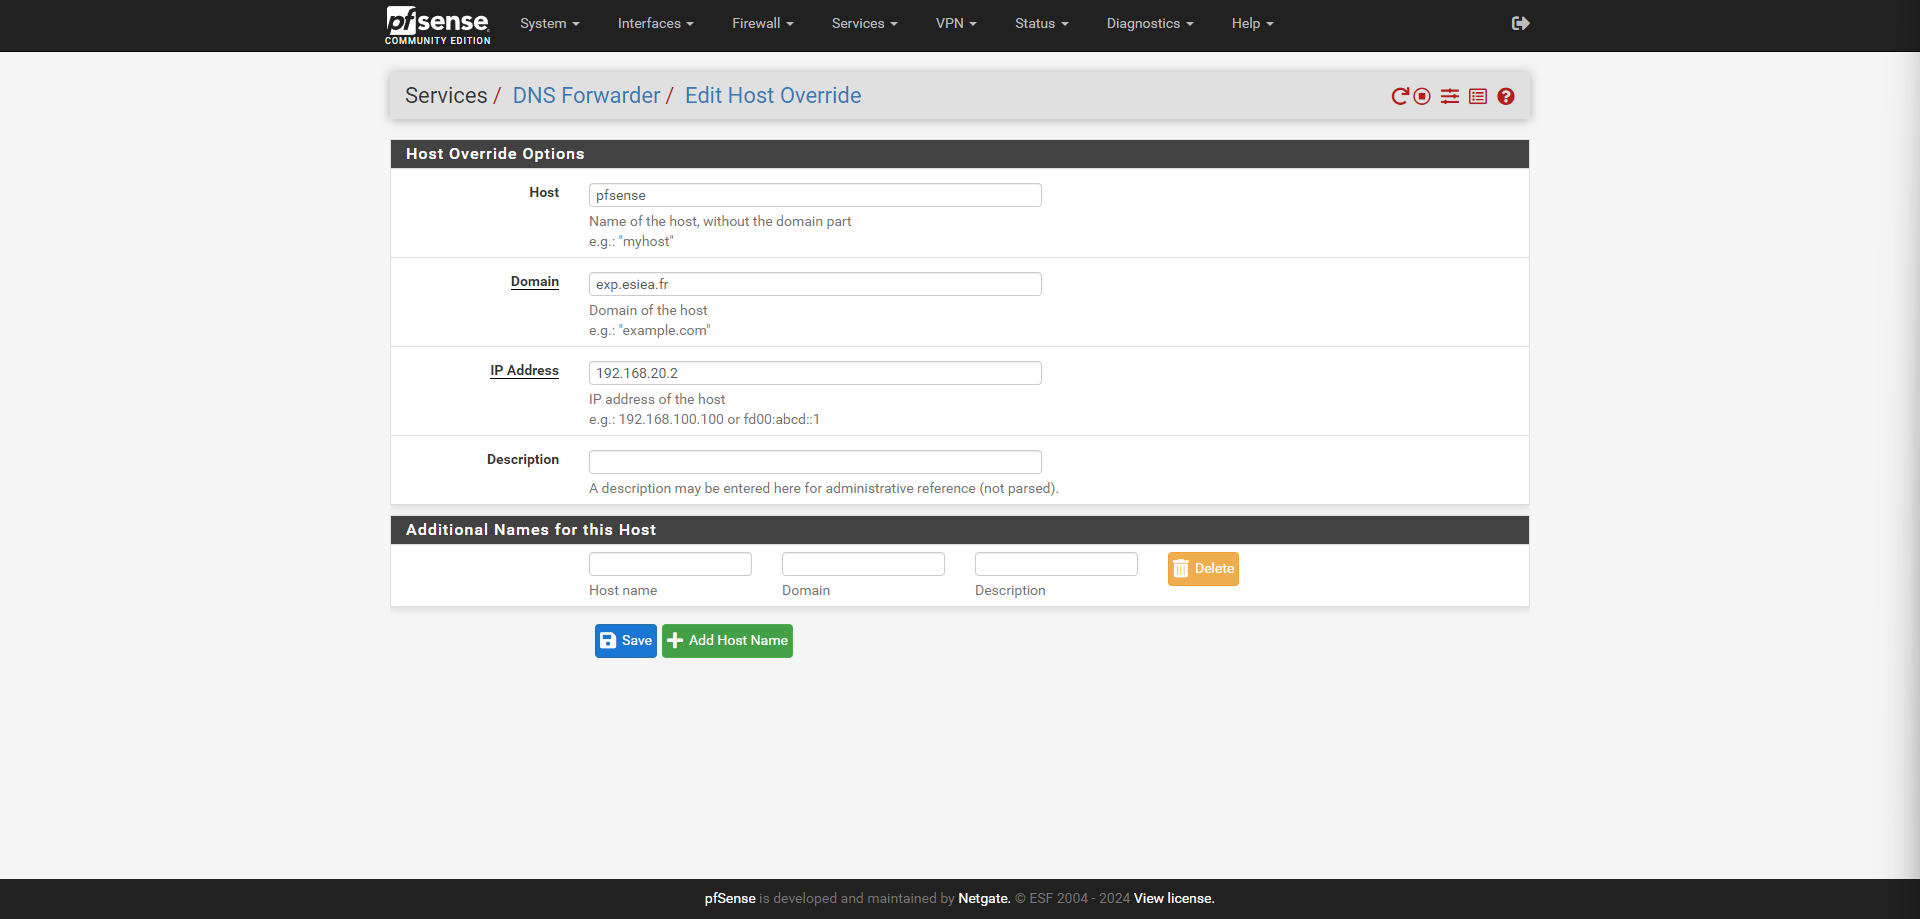
- Apply the changes if not applied.
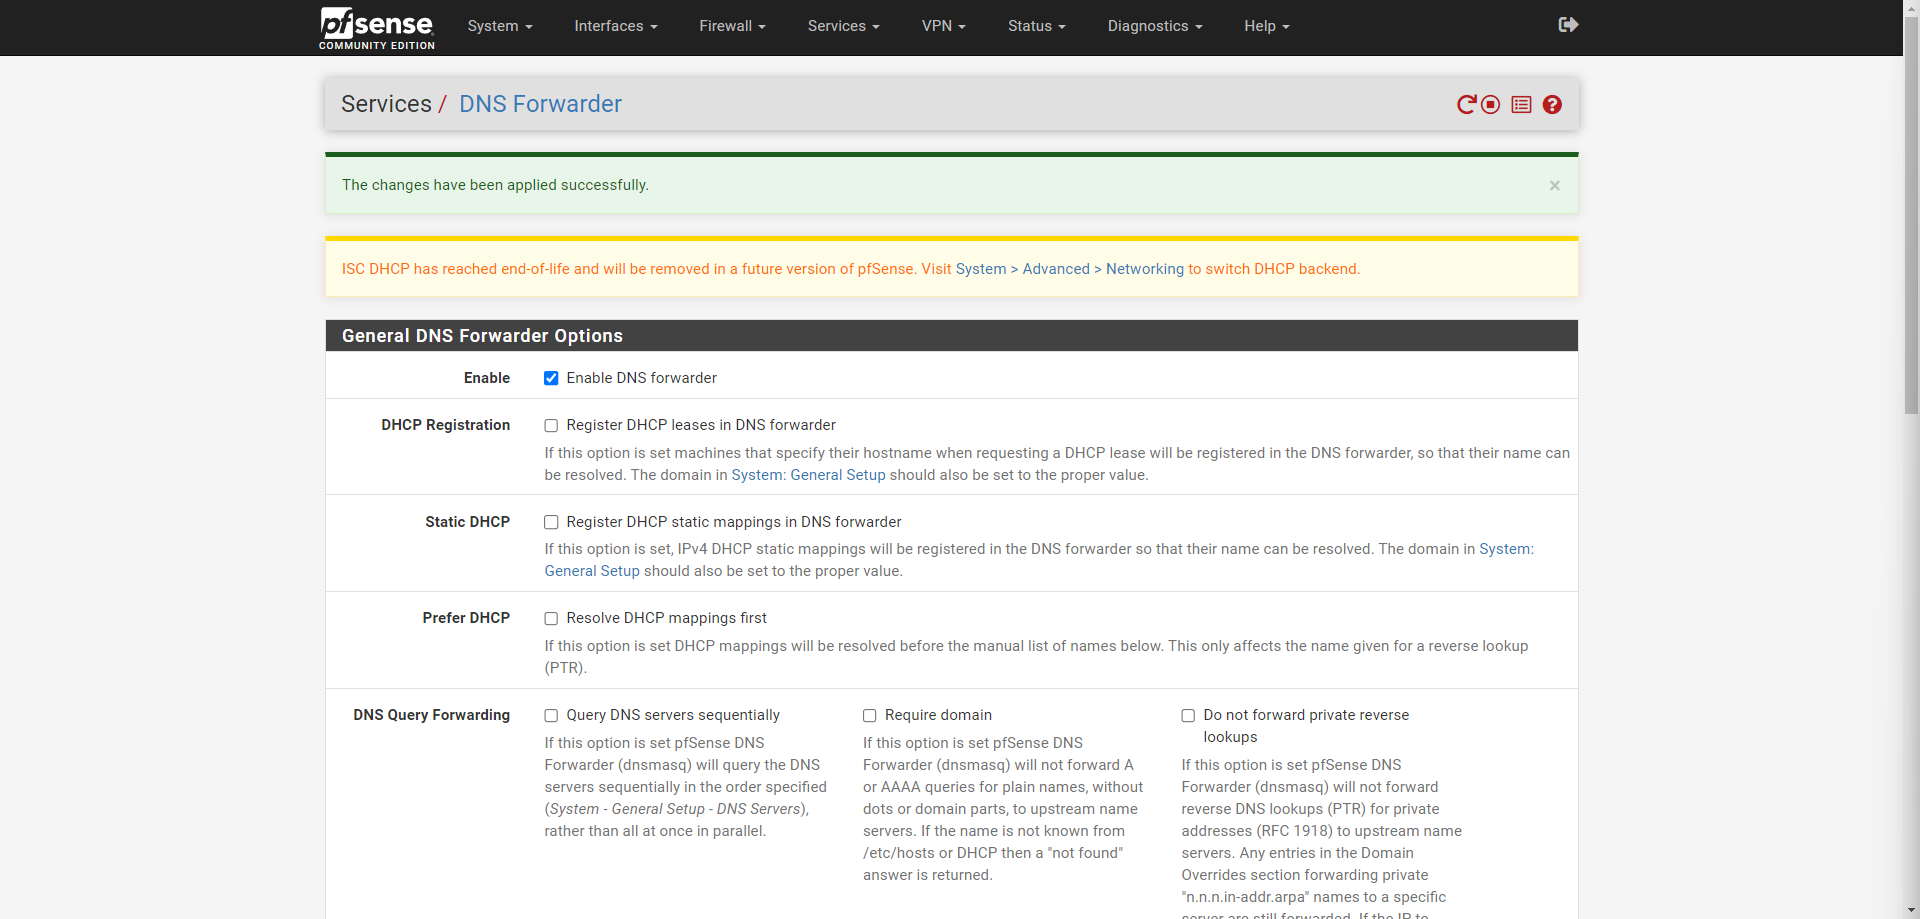
Now enter the domain:8000 in another window in your browser and it should show you the docker site.

If it doesn't work, it is your router dns conflicting with pfs dns.
-
To fix this, click 🪟+R and type Ncpa.cpl and OK
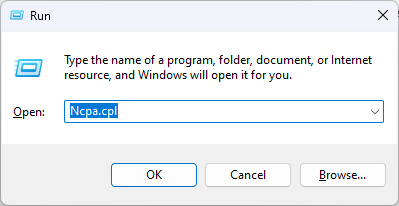
-
Click VirtualBox Host-Only Ethernet Adapter and open properties

-
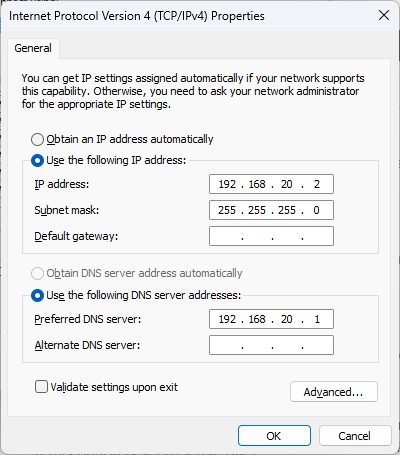
Click on Internet Protocol Version 4
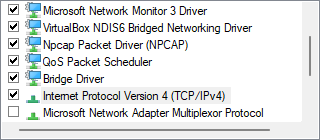
-
Use this DNS if you are following my guide otherwise the address of your pfsense
WAN access with domain name
As a final step to see if our setup is really complete, I am going to use my linux pc and my android mobile to see if i am able to resolve the domain using the pfsense as dns server.
Linux PC
Using nslookup and saying to use pfsense as my dns server, I am able to resolve the domain locally

Android
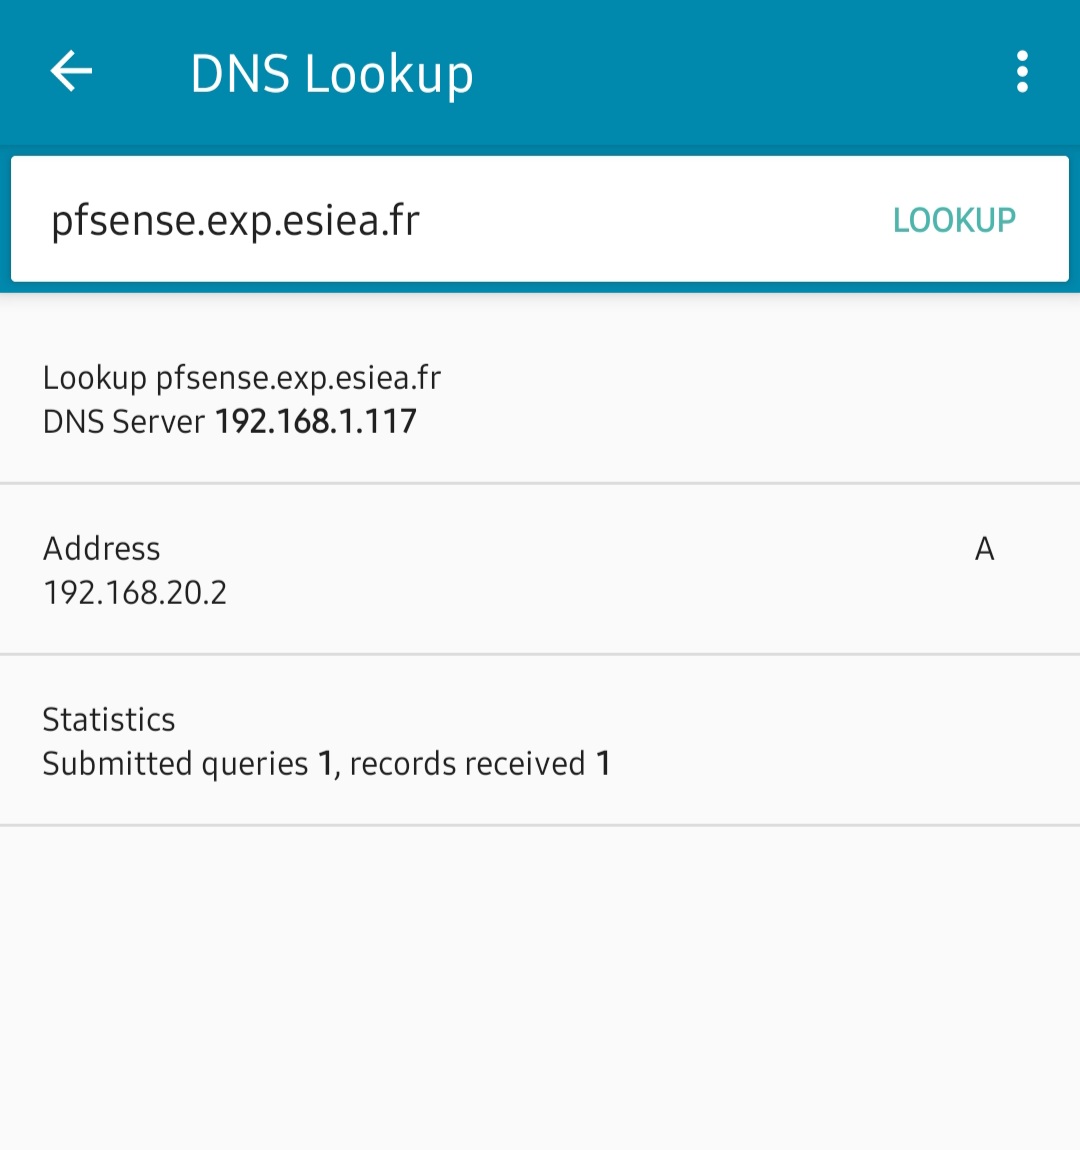
I am using PingTools to lookup the domain by telling to use Pfsense as the DNS server.
My pfsense wan ip
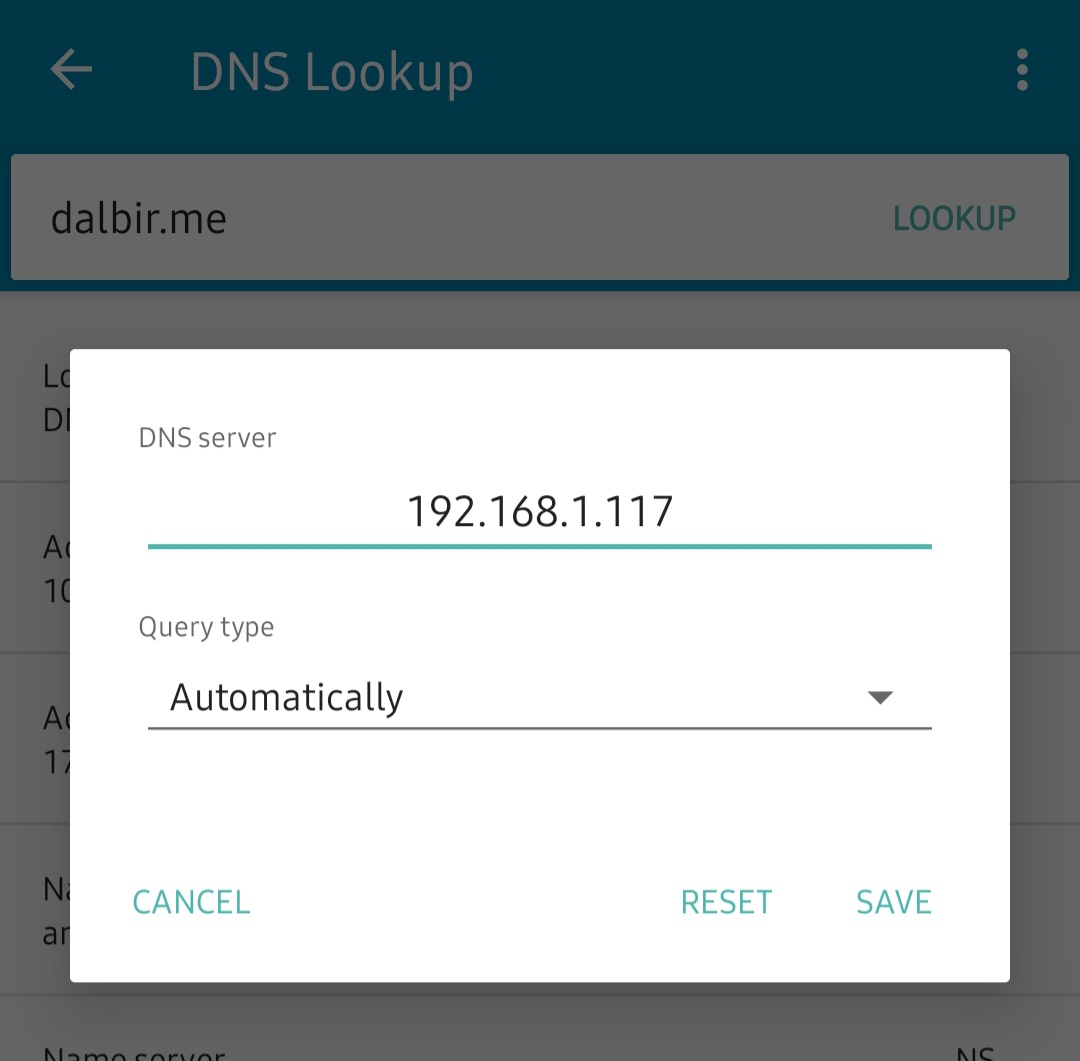
And it resolved the domain and gave me the ip of the server.
