Configuring Vmware for Pfsense
- Download and install VMware
- Configure vmware networks
-
Two networks :
(https://dalbir.me/blog/vmware-networks)
- Bridged ( main network for internet and wan address)
- Host only (local network configured and controlled by pfsense)
- Open VMware and create a new container for pfsense with following specifications :
- Minimum 1cpu processor (adding extra processor might fail the vm to start)
- Minimum 1gb ram ( the more, the faster the installation)
- Add the two network devices we created earlier ( Bridge and Host-Only)
- Minimum 16gb storage suggested ( can be lower)
- Install Pfsense on vmware wiki
- (Once the pfense has done installing and restarted you might get in the installation loop process, to evict this error try to remove the iso attached to the container and restart. This will fix the problem.)
Pfsense
web setup
- You will be provided with two ips normally on your pfsense shell.
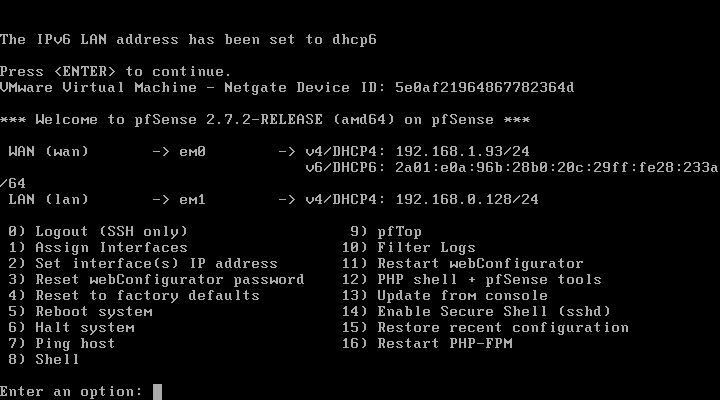
- Use the lan ip and put it in your web browser.
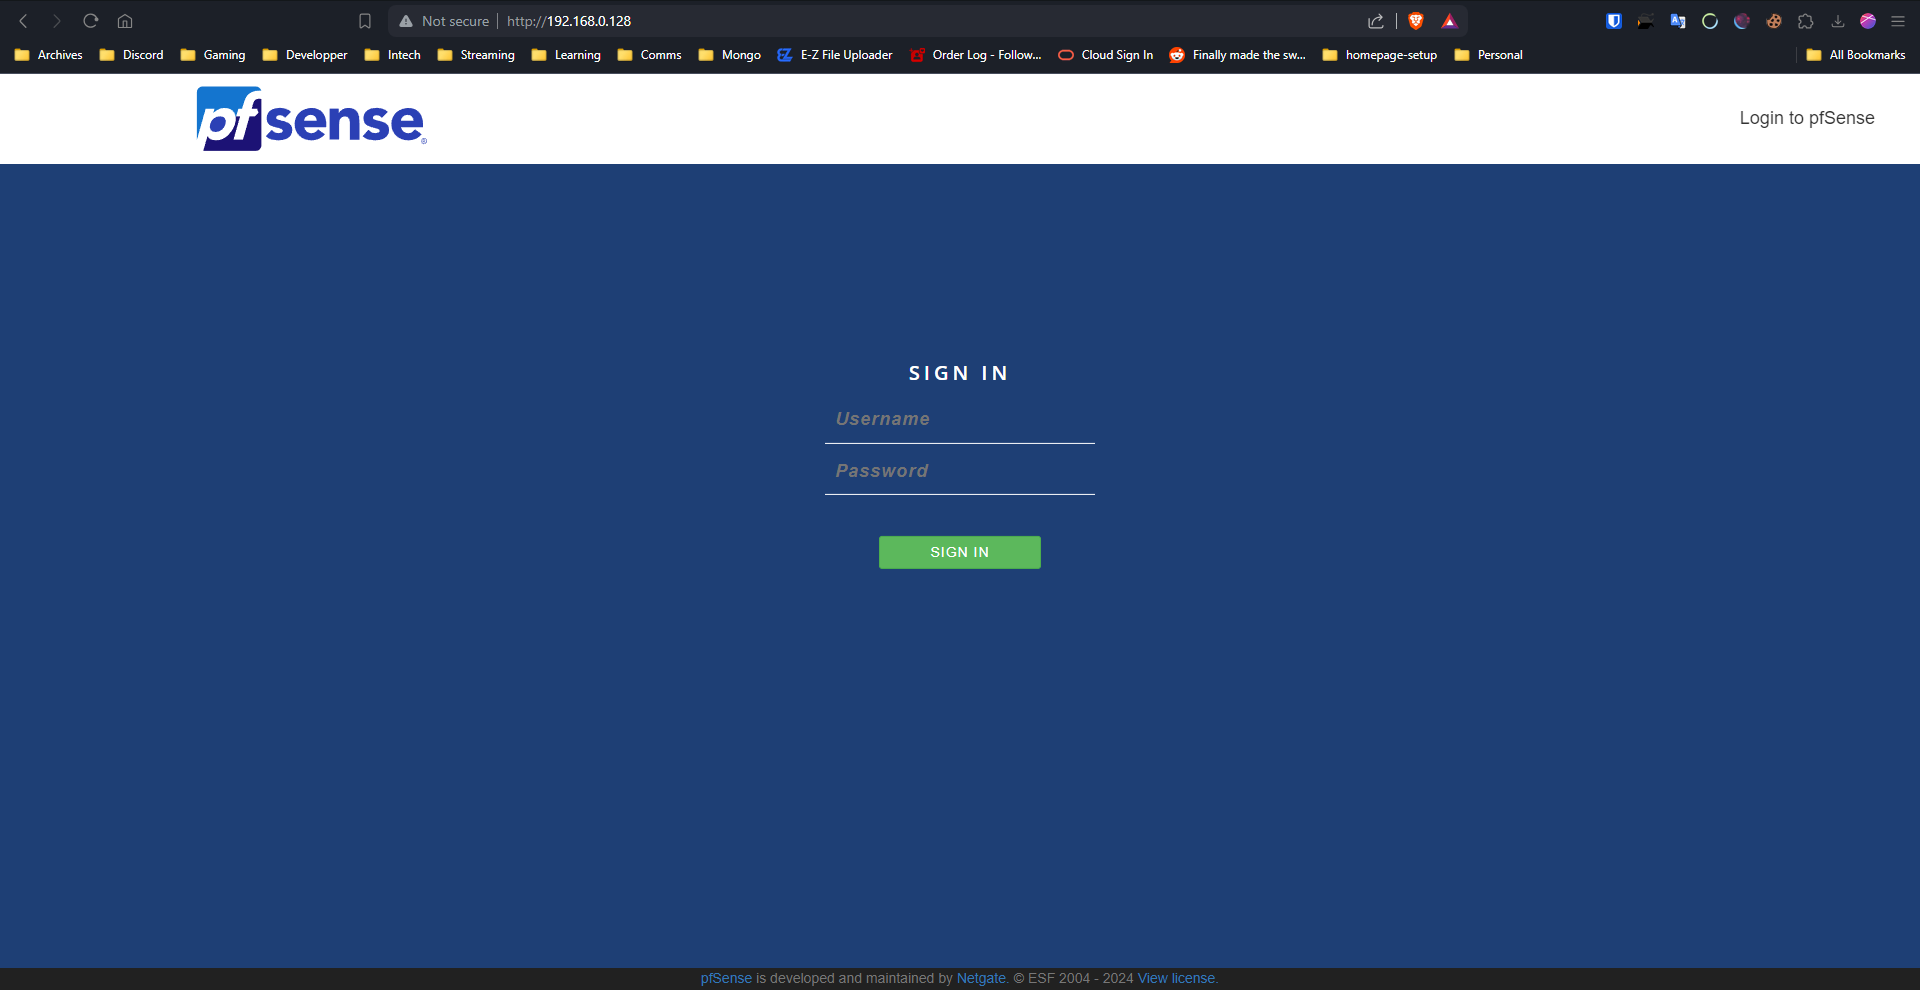
- User is admin and password is pfsense
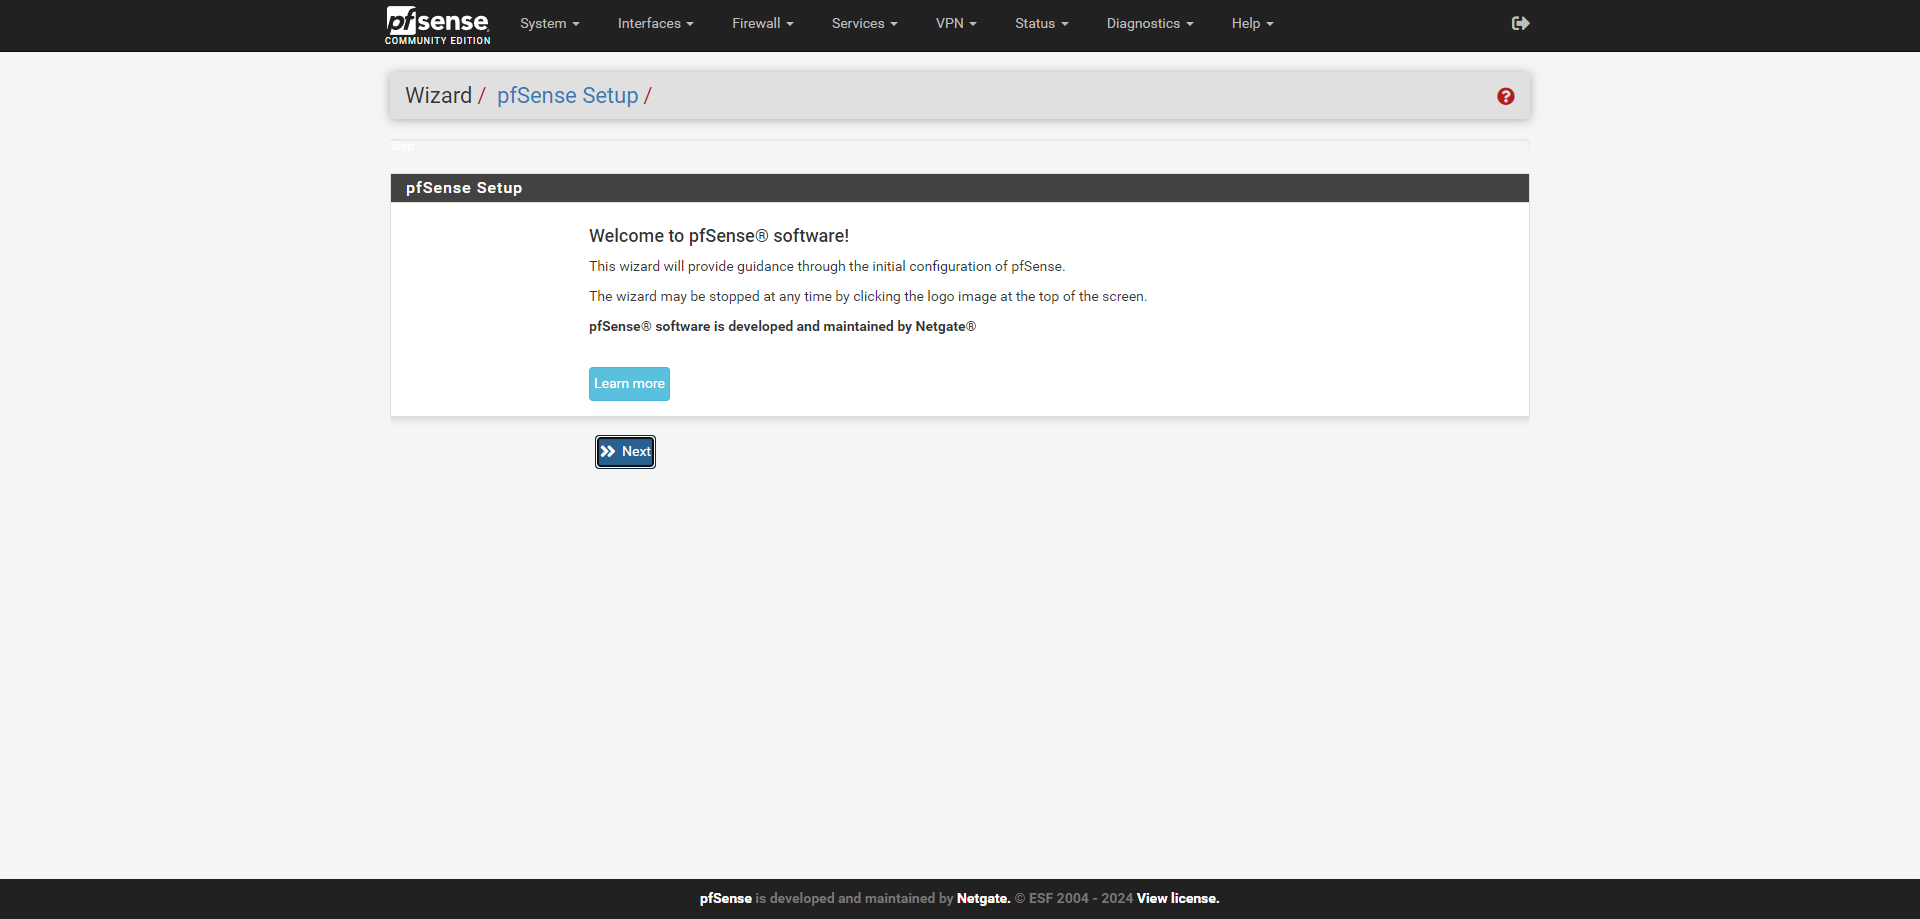
- Run the web setup :
Just keep the defaults as we dont need them
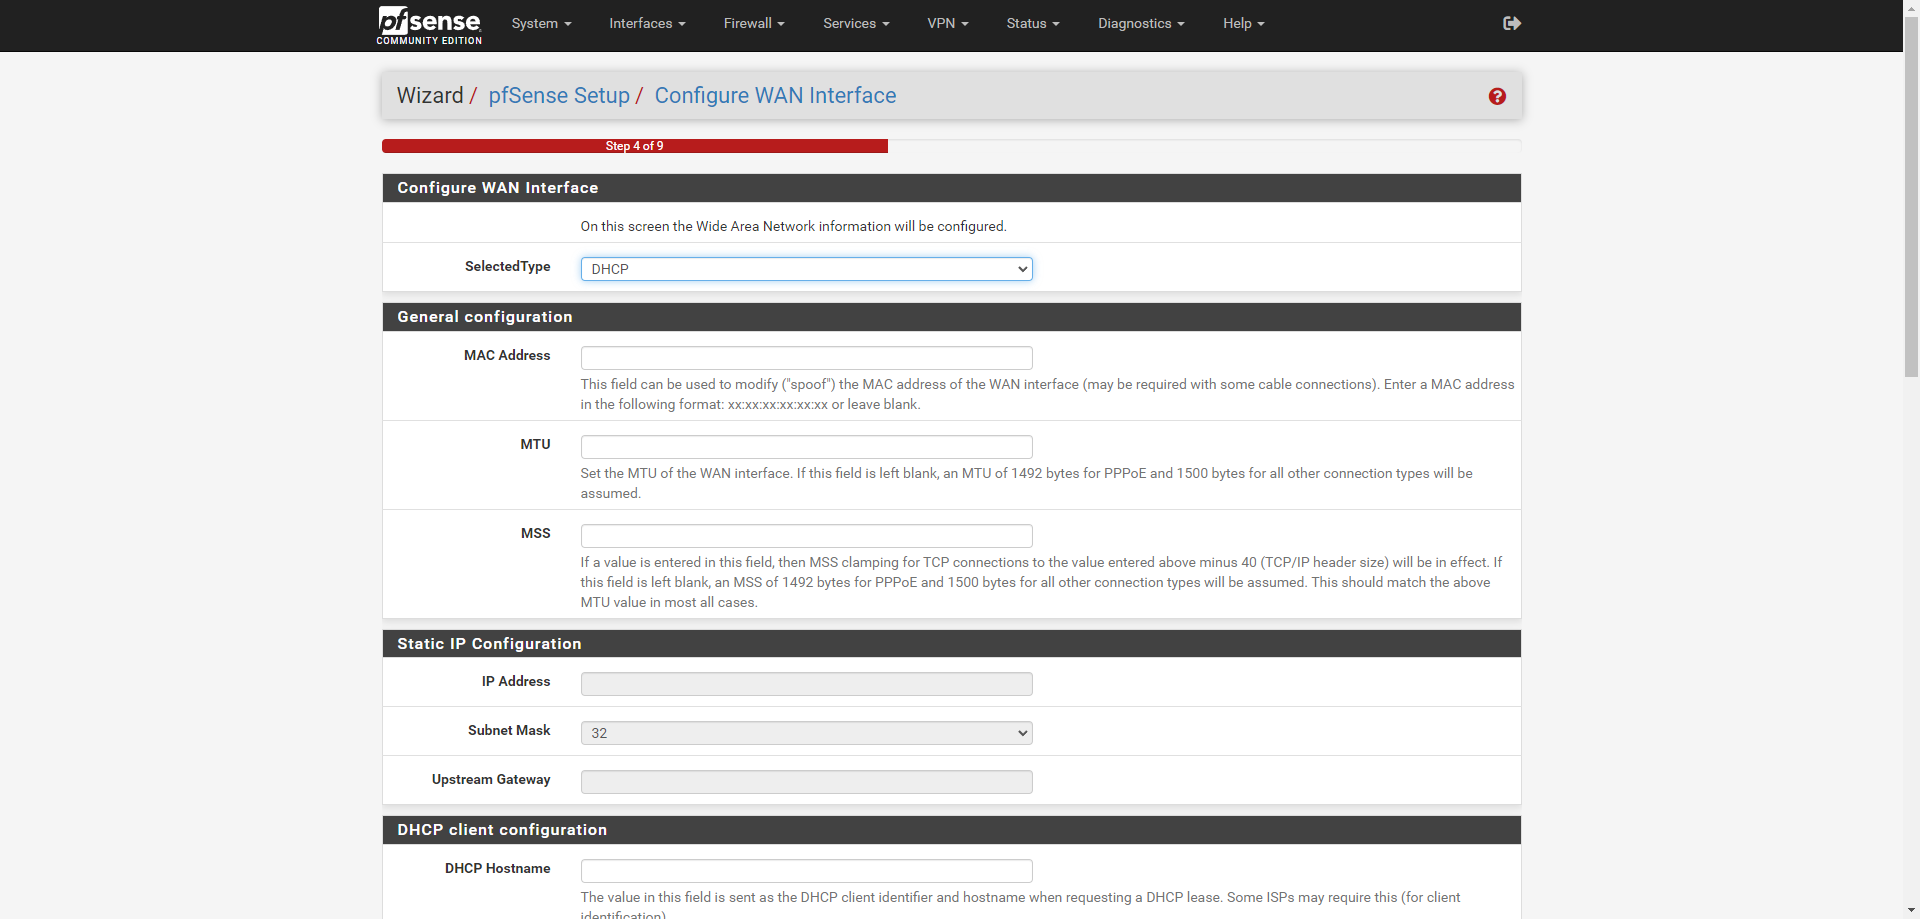
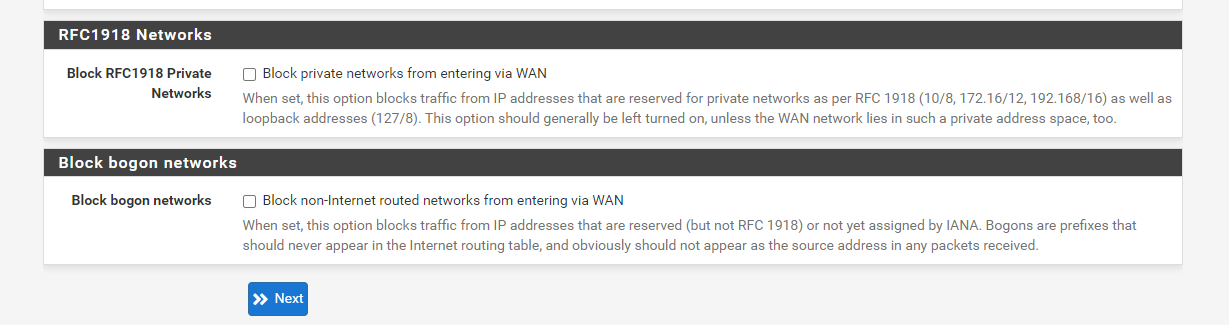 Be sure to disable these two as they will block wan access otherwise which we need for our configuration to work properly.
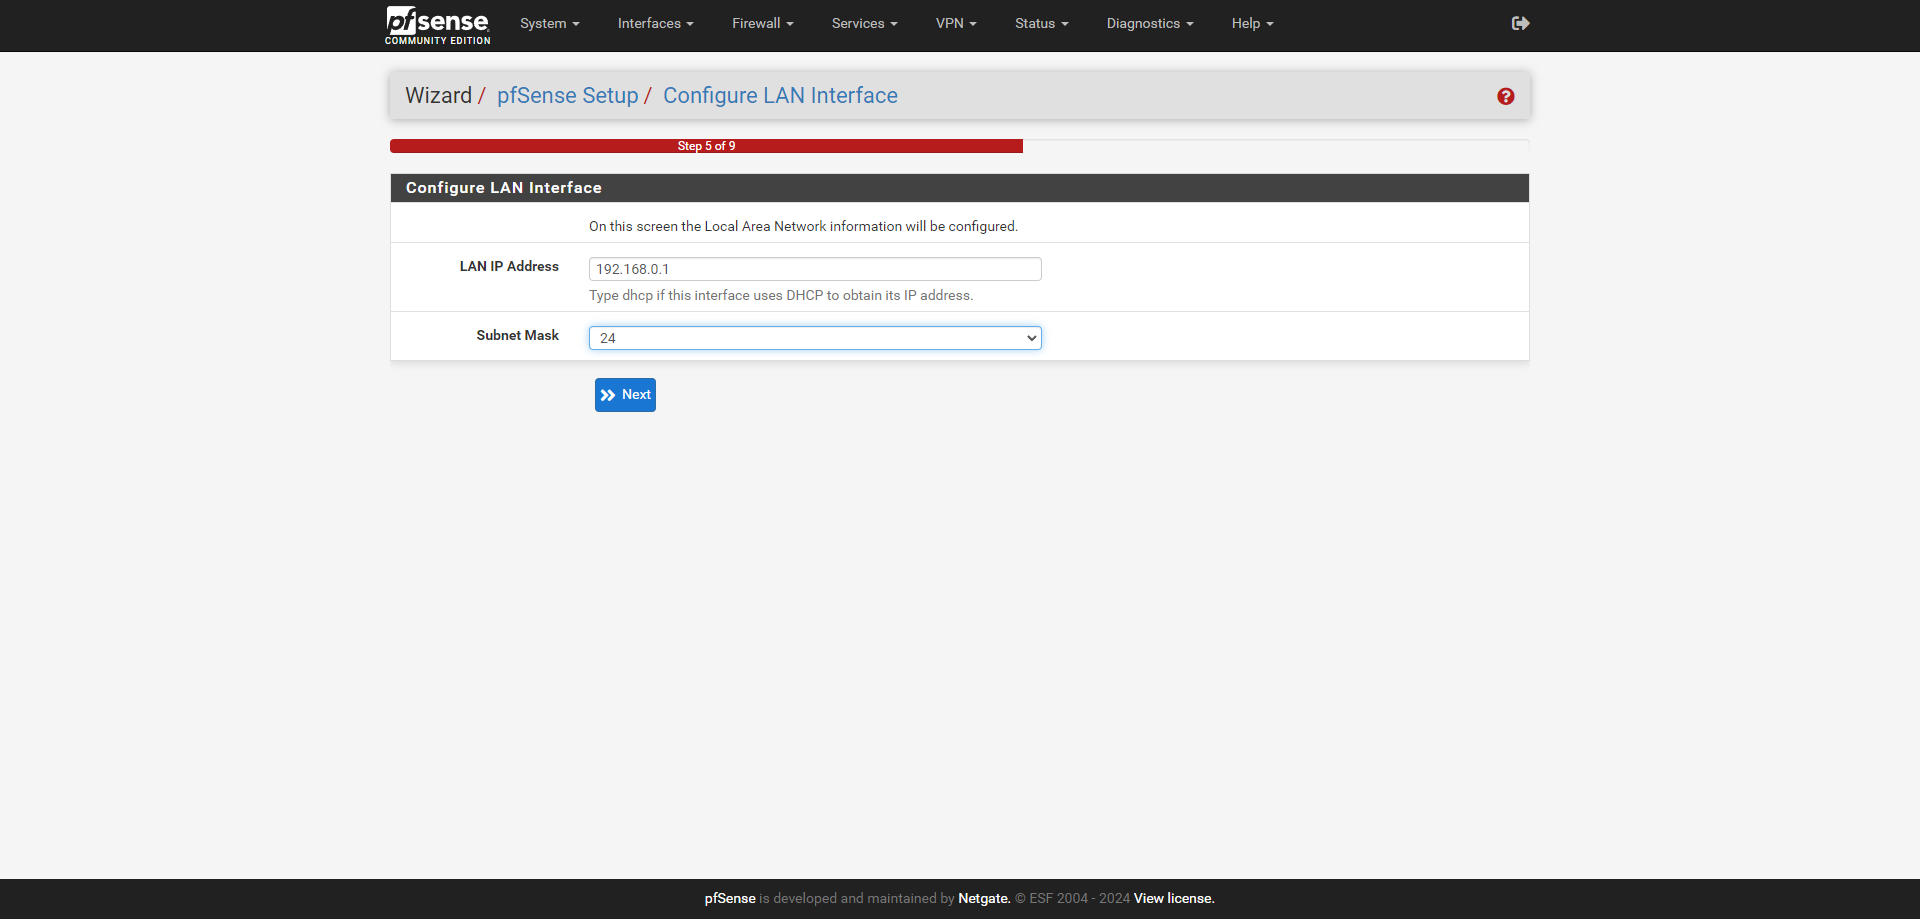 I am using 192.168.0.1 / 24 as i declared these values in my vmware network config wiki. If you are following my guide keep it this way so you don't get any issues.
Setting dns forwarder
We need to enable dns forwarder so requests to domains are passed through pfsense and not our router provider. In simple terms, when we declare a nat entry with domain name in pfsense it will not work as our router dns doesnt recognize those domains.
- Disable DNS Resolver Services -> DNS Resolver and untick it and save the settings,
- Enable DNS Forwarder Services -> DNS Forwarder and enable it.
Docker
- You will need to create a simple web app in docker where our site will be hosted.
- (or here is the code for docker-compose.yml)
version: '2'
services:
    app:
        image: strm/helloworld-http
        ports:
- "8000:80"- After creating the file, you will need to do
docker compose up( make sure your docker is running or you will get an error). - Once started you will get a message like this
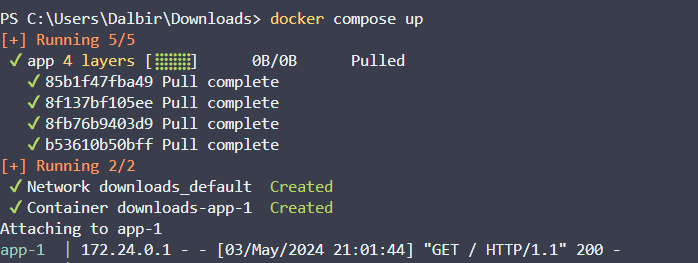 .
. - Now go to your web browser type localhost:8000 and you will see a hello from your container.
Docker config is done and all we need to do is make a NAT rule in our pfsense firewall for it to forward wan address to the website.
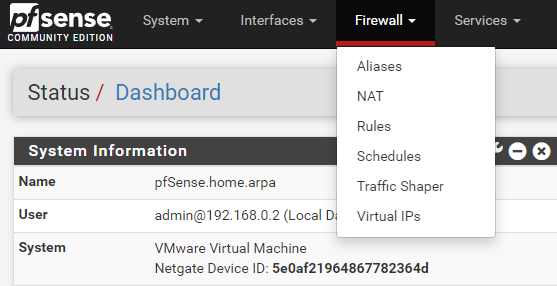
Back to pfsense web panel
- Click Firewall and then NAT
- Click on Add
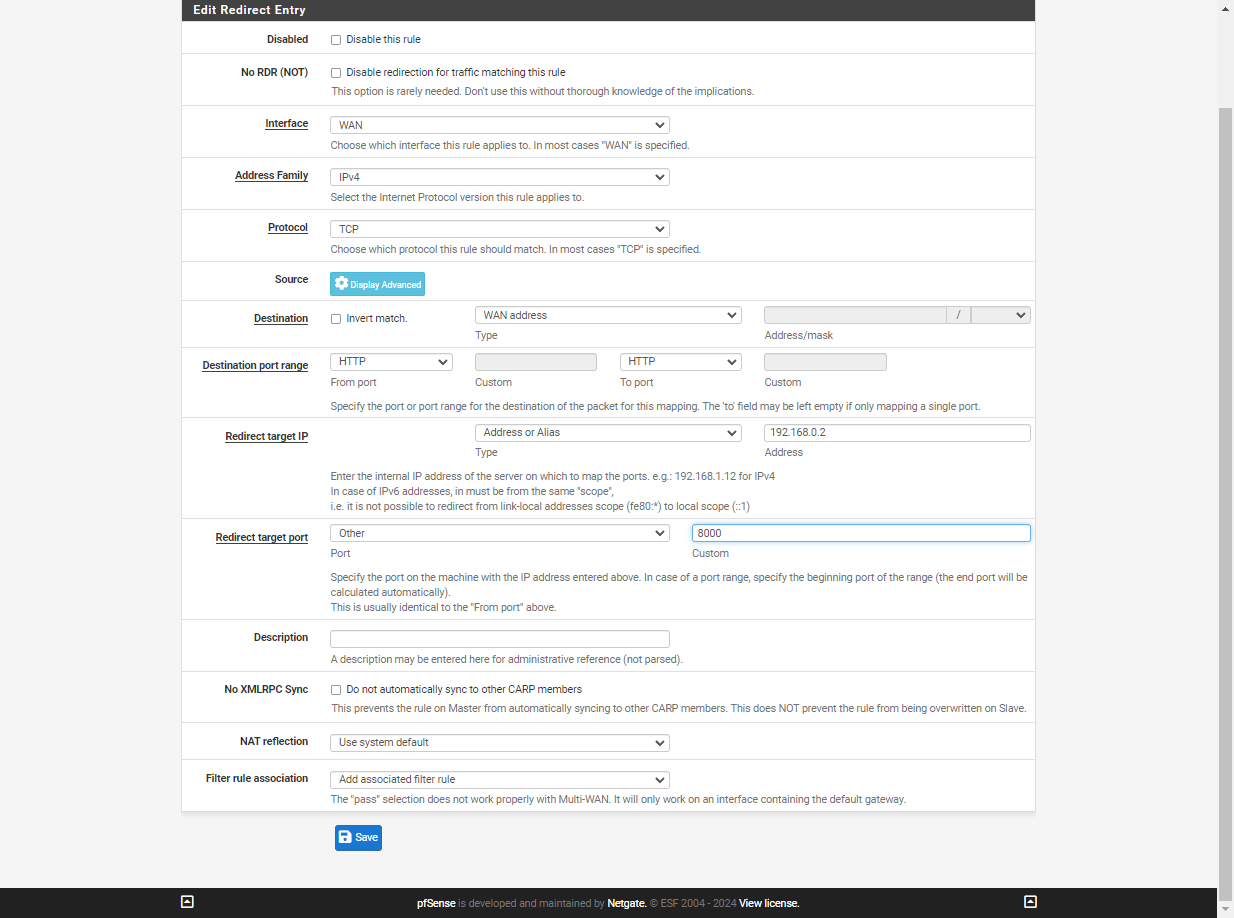
- Just change the following and make sure interface is WAN
- Protocol = TCP
- Destination = WAN address
- Destination port range = HTTP
- Redirect target IP = Address or Alias = IP of your Windows PC
( Duplicate the page to keep the entries, on the other page click Diagnostics and ARP table and find the LAN IP of your pc. In my case its 192.168.0.2. Copy the ip and go back to other page.)

- Redirect target port = 8000
AND click save.
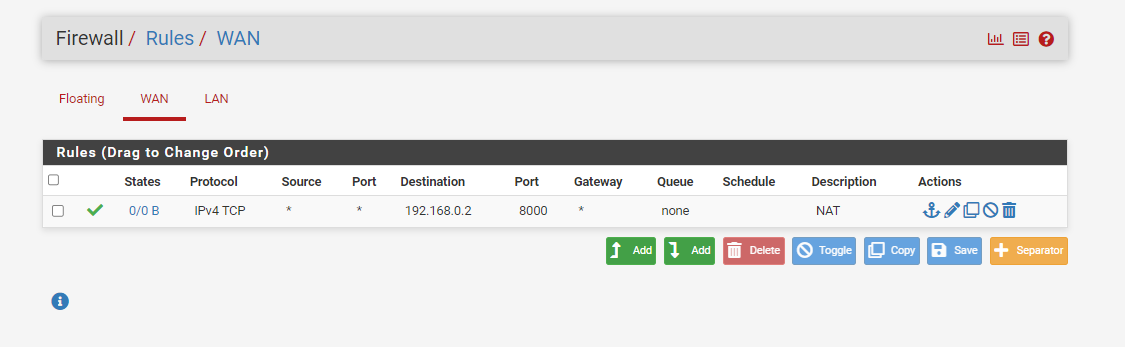
 Apply the changes and go to FIrewall -> Rules to see if the WAN rule is created successfully.
Results
If everything done as explained you will most likely be able to see the "Hello from vhzzhj ( random letters of your container)" on your WAN IP.